Loading LOKEIL Renovation…
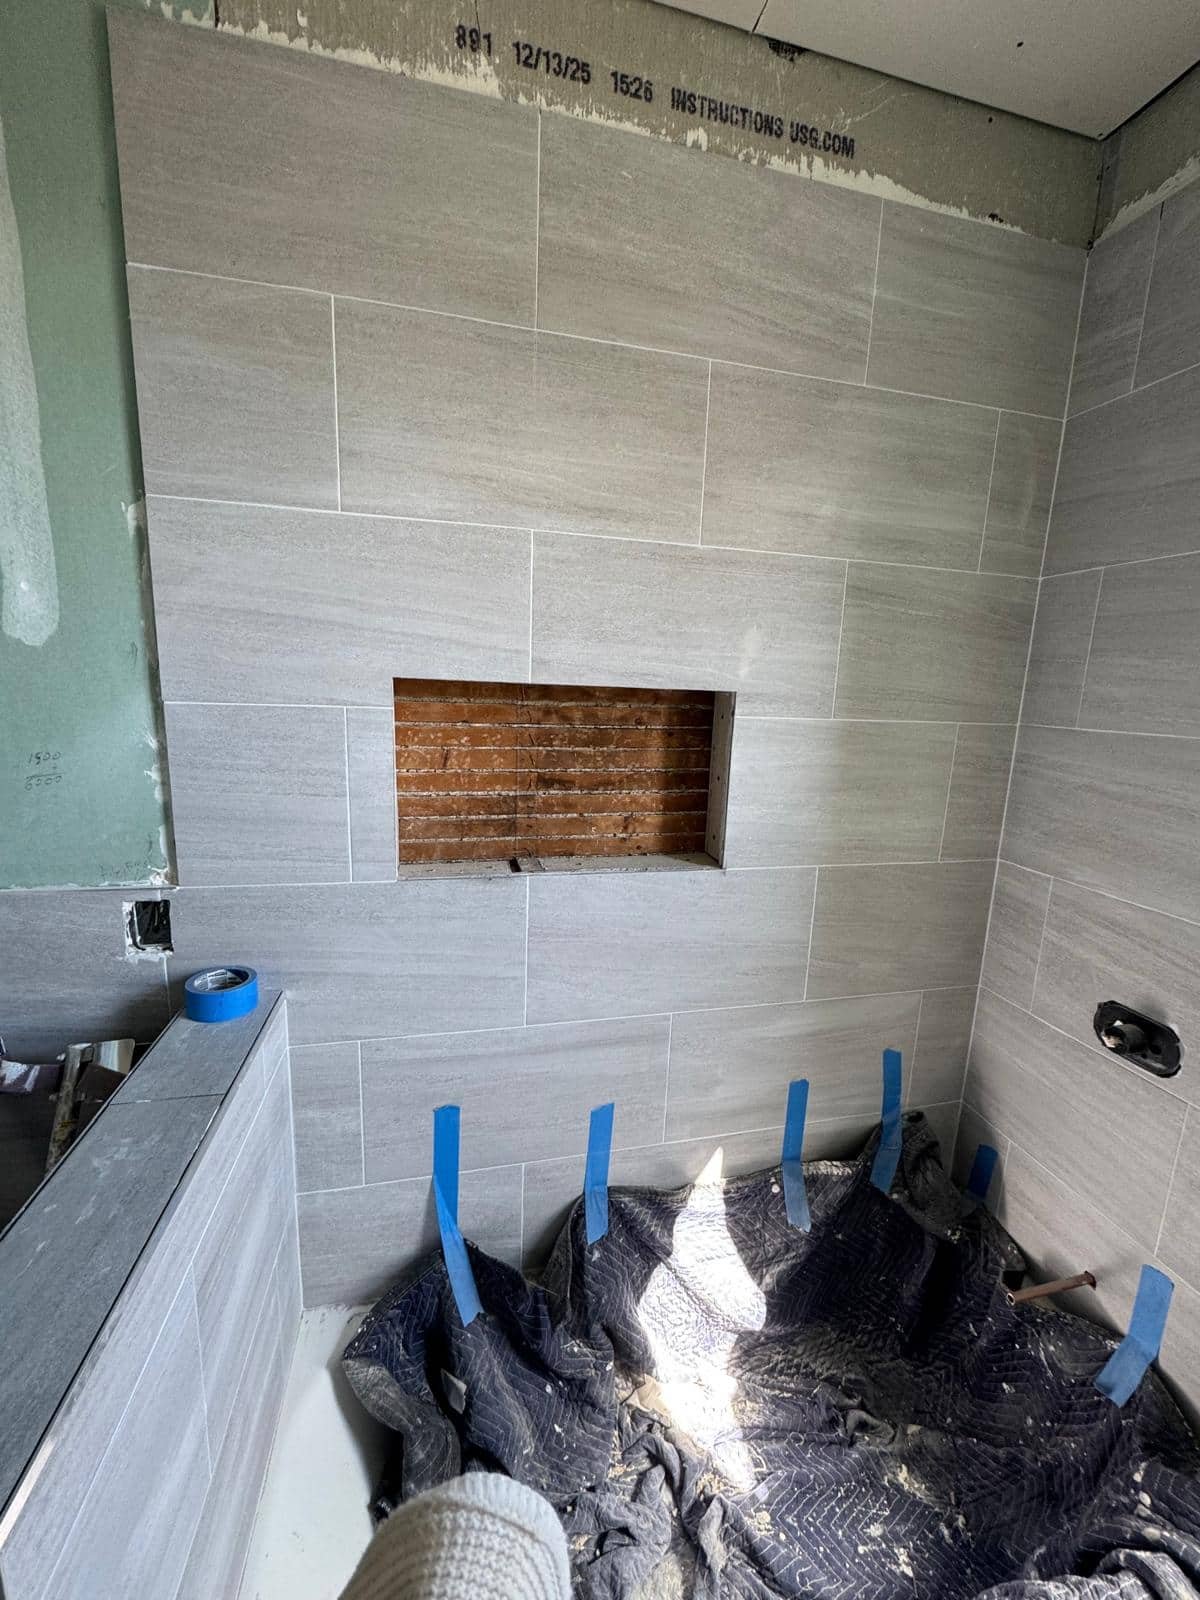
A tub surround can look nearly complete while several visible finish tasks remain.
Almost finished is still in progress
The gray tub surround appears here at a stage before all fixtures and edge finishes are in place. The niche and horizontal tile lines show how much of a bathroom can already be decided before the final hardware is installed.
The tub wall is photographed before the room is complete, so it is useful for scope rather than a finished look. The niche, open edges, and missing hardware are separate finish tasks. If an estimate says tile installation only, ask whether those details are included. A homeowner should know exactly what the room will look like when the crew leaves.
Name the hidden and visible work
Tub surrounds require a plan for the tub flange, wall backing, water management, penetrations, and tile termination. Once the tile is set, trim can finish edges, but it cannot correct a poor wall assembly or misplaced opening beneath it.
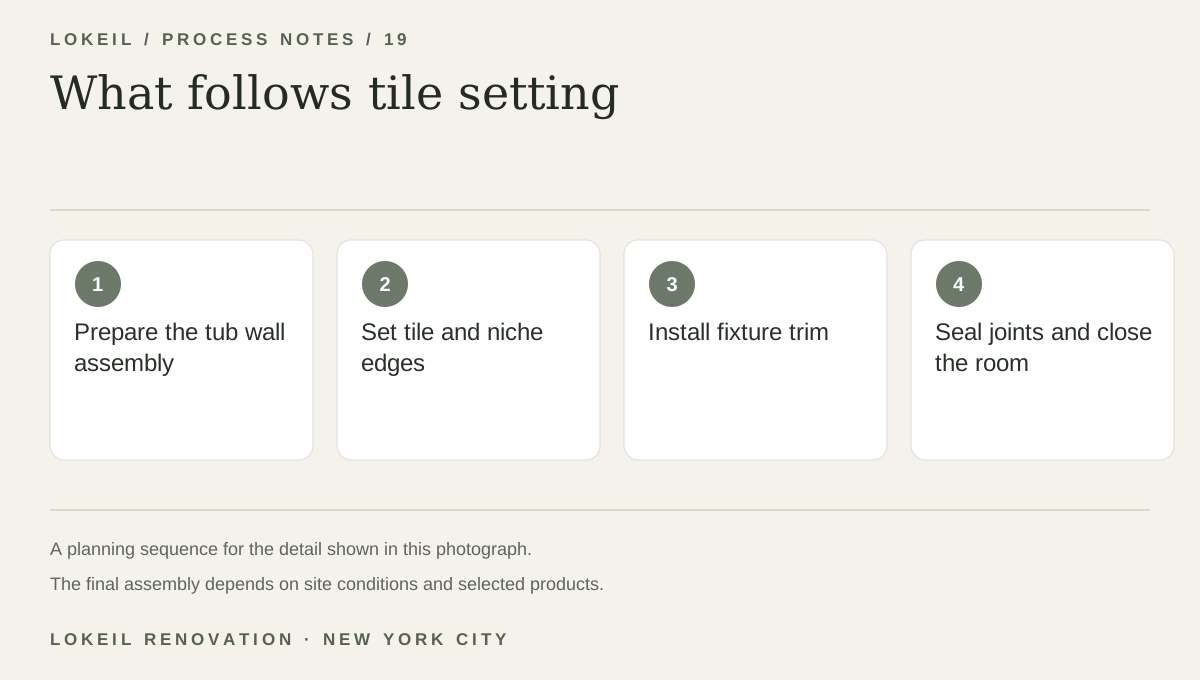
What follows tile setting
- 1Prepare the tub wall assembly
- 2Set tile and niche edges
- 3Install fixture trim
- 4Seal joints and close the room
Request a complete handoff scope
Ask what is included beyond the tile: niche interior, edge trim, fixture plates, ceiling repair, and caulk. A detailed scope prevents a nearly finished surround from turning into a string of separate small charges.