Loading LOKEIL Renovation…
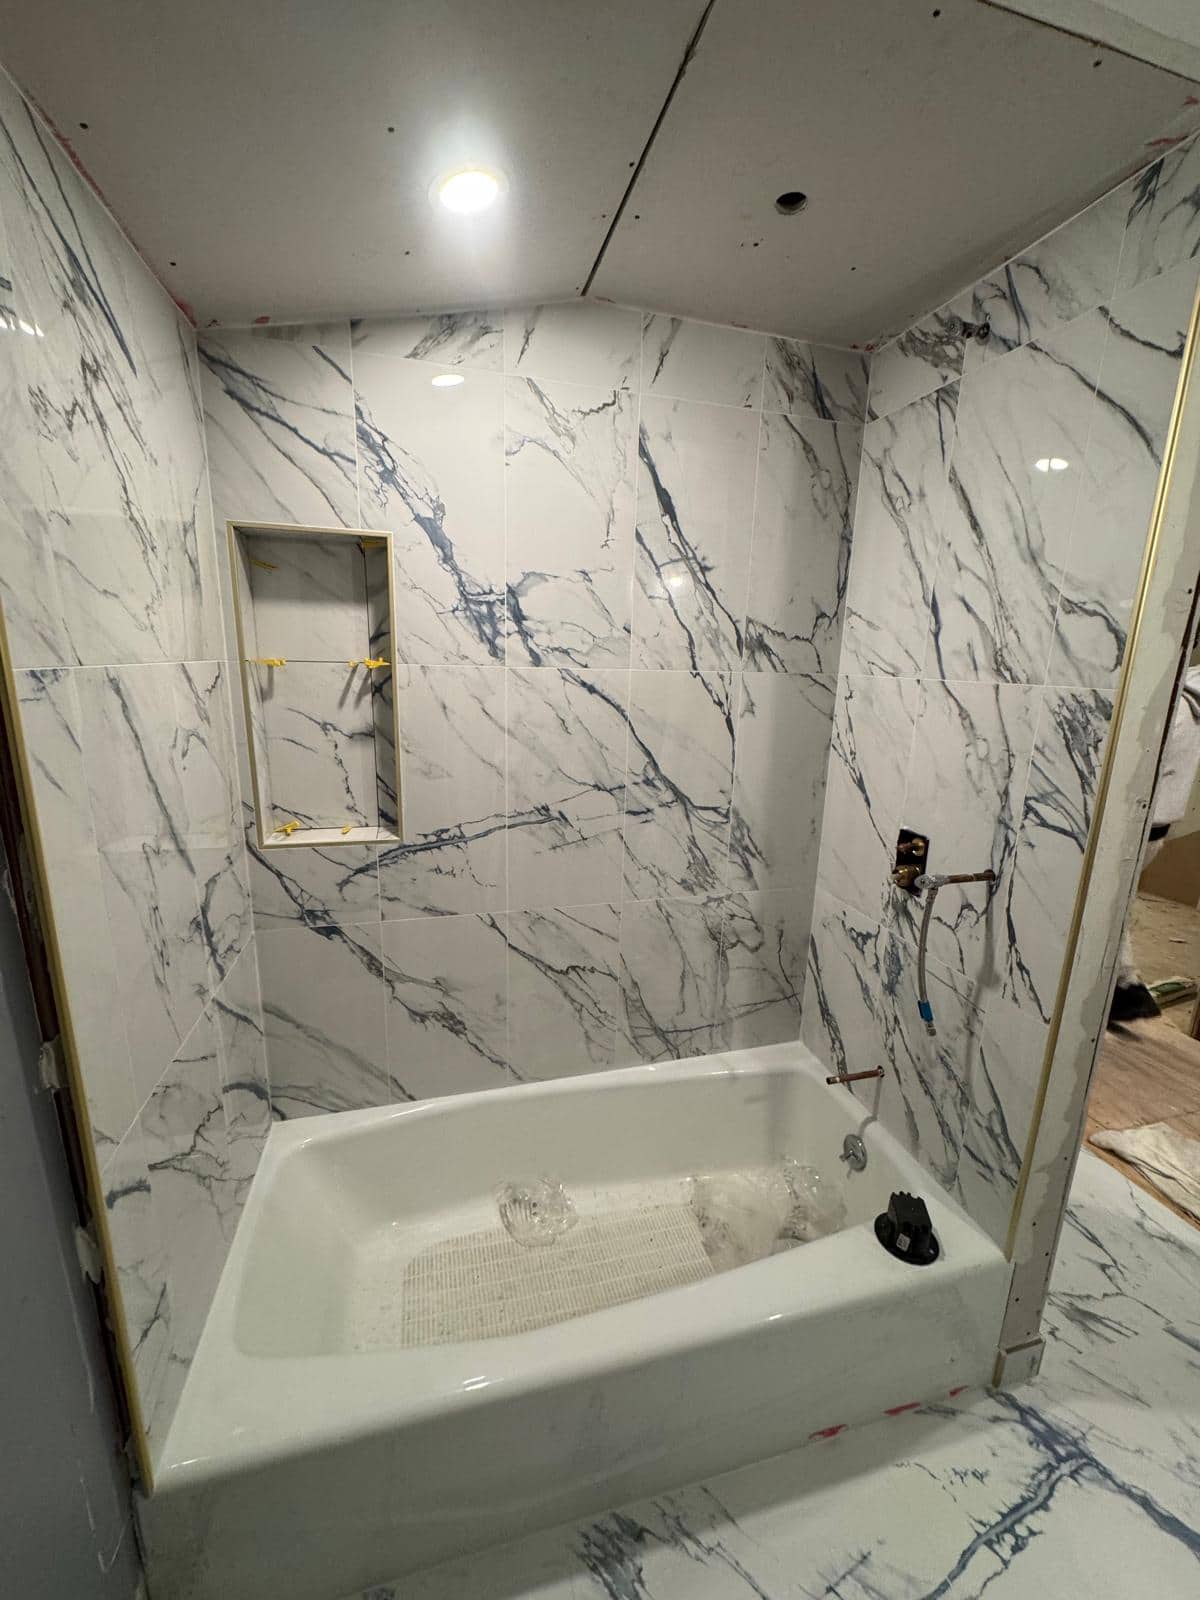
The unfinished ceiling makes the boundary of this tub project impossible to ignore.
Look above the new tile
Pale marble look wall tile wraps a tub and a recessed shelf. The ceiling above is still unfinished in the photograph, which makes this a progress image rather than a claim that the bathroom was handed over at this stage.
The unfinished ceiling is a useful reminder that a new tub surround does not automatically mean a finished bathroom. A contractor may be pricing only the wet walls, or the entire room. The difference affects paint, lighting, ventilation, and the final edge where tile stops. Ask for a room wide scope even when the shower is the main reason for the project.
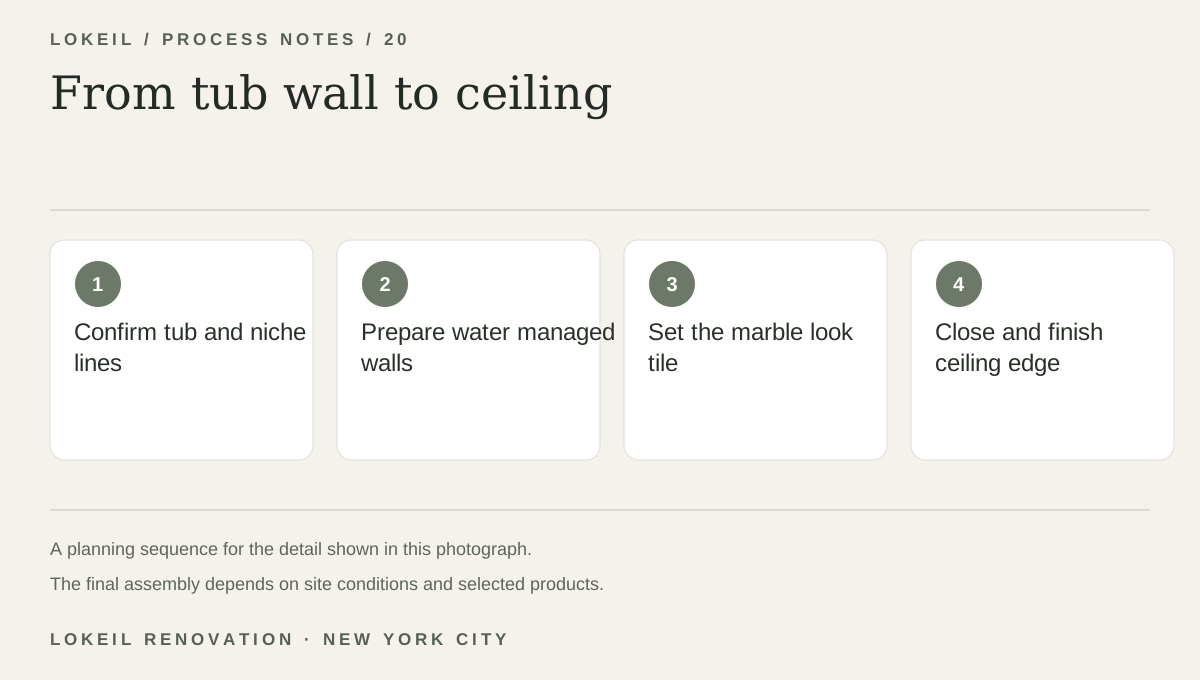
From tub wall to ceiling
- 1Confirm tub and niche lines
- 2Prepare water managed walls
- 3Set the marble look tile
- 4Close and finish ceiling edge
Plan the whole wet wall
The tub line, niche opening, and ceiling height determine where tile courses land. A wet area needs an appropriate water management assembly before tile is installed, followed by careful treatment at fixture penetrations and changes of plane.
Include the ceiling in the conversation
Send photos of the tub, ceiling, and plumbing wall with your estimate request. Say whether the ceiling and lighting are part of the remodel, because they affect how complete the finished room will feel.