Loading LOKEIL Renovation…
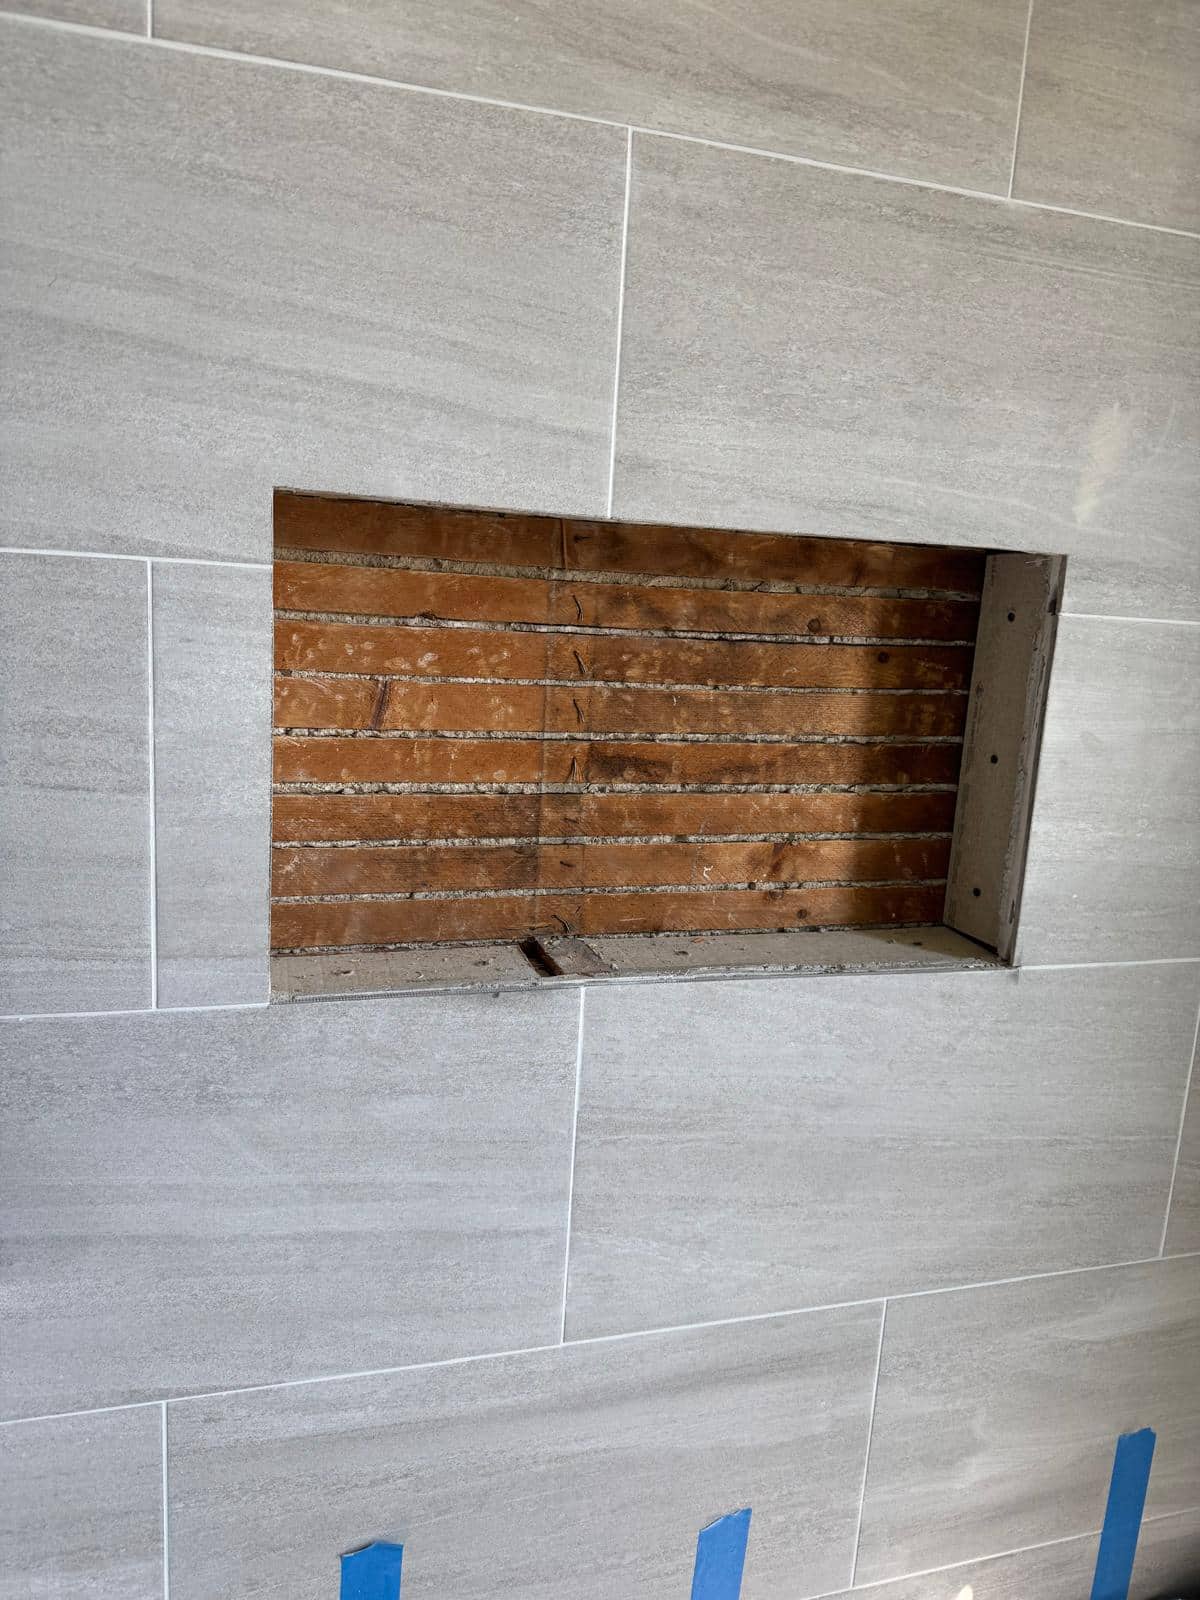
An open niche is a chance to ask questions before the critical parts disappear behind tile.
The stage worth photographing
Gray tile surrounds a recessed niche whose interior is still open in this photograph. It shows a stage that homeowners rarely see in finished galleries. The opening is where storage, waterproofing, tile thickness, and edge treatment have to agree.
This open niche exposes the space that will soon disappear behind the finish. Once tile covers it, the only clues will be the slope of the shelf and the quality of the corners. Homeowners can use a progress photo like this to ask about the sequence before closing, rather than trying to judge waterproofing from a finished surface.
The work that will be concealed
A niche needs solid backing and a waterproof connection to the surrounding shower assembly before tile covers it. The bottom surface should shed water toward the shower. Tile sizes and trim choices affect how many cuts appear around the opening.
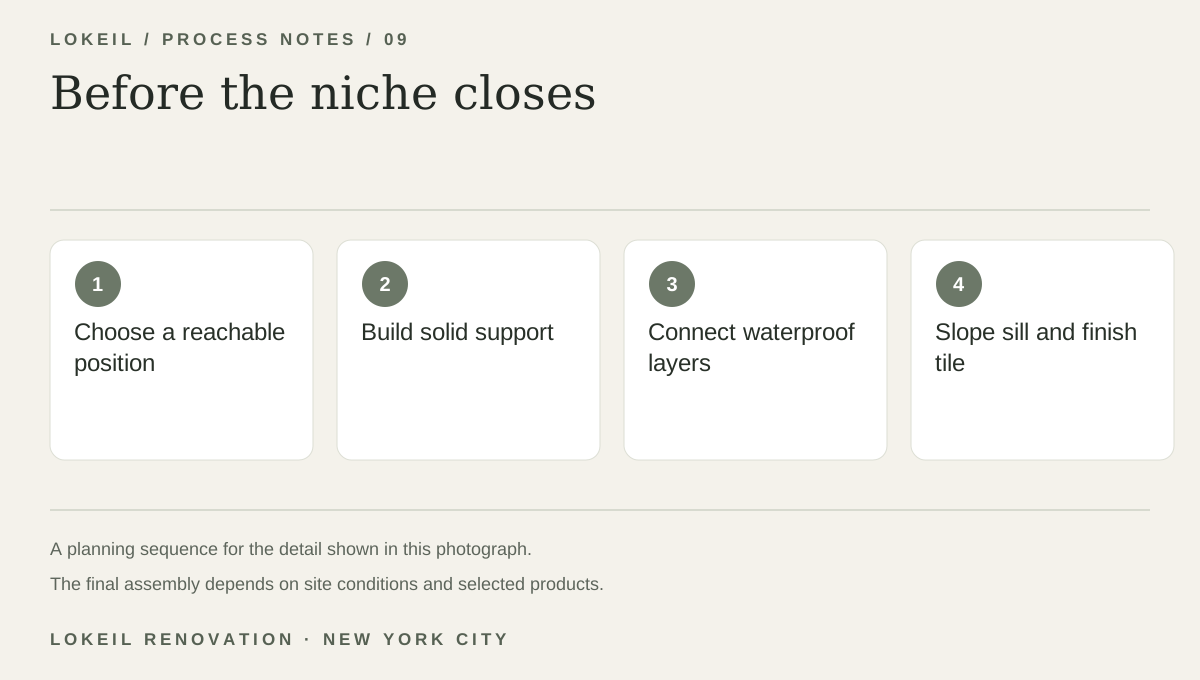
Before the niche closes
- 1Choose a reachable position
- 2Build solid support
- 3Connect waterproof layers
- 4Slope sill and finish tile
Set storage height around real use
Choose niche height around the people who will use the shower and the items they store. Ask where the niche can fit within the wall framing and how its sill and outside edges will be finished.