Loading LOKEIL Renovation…
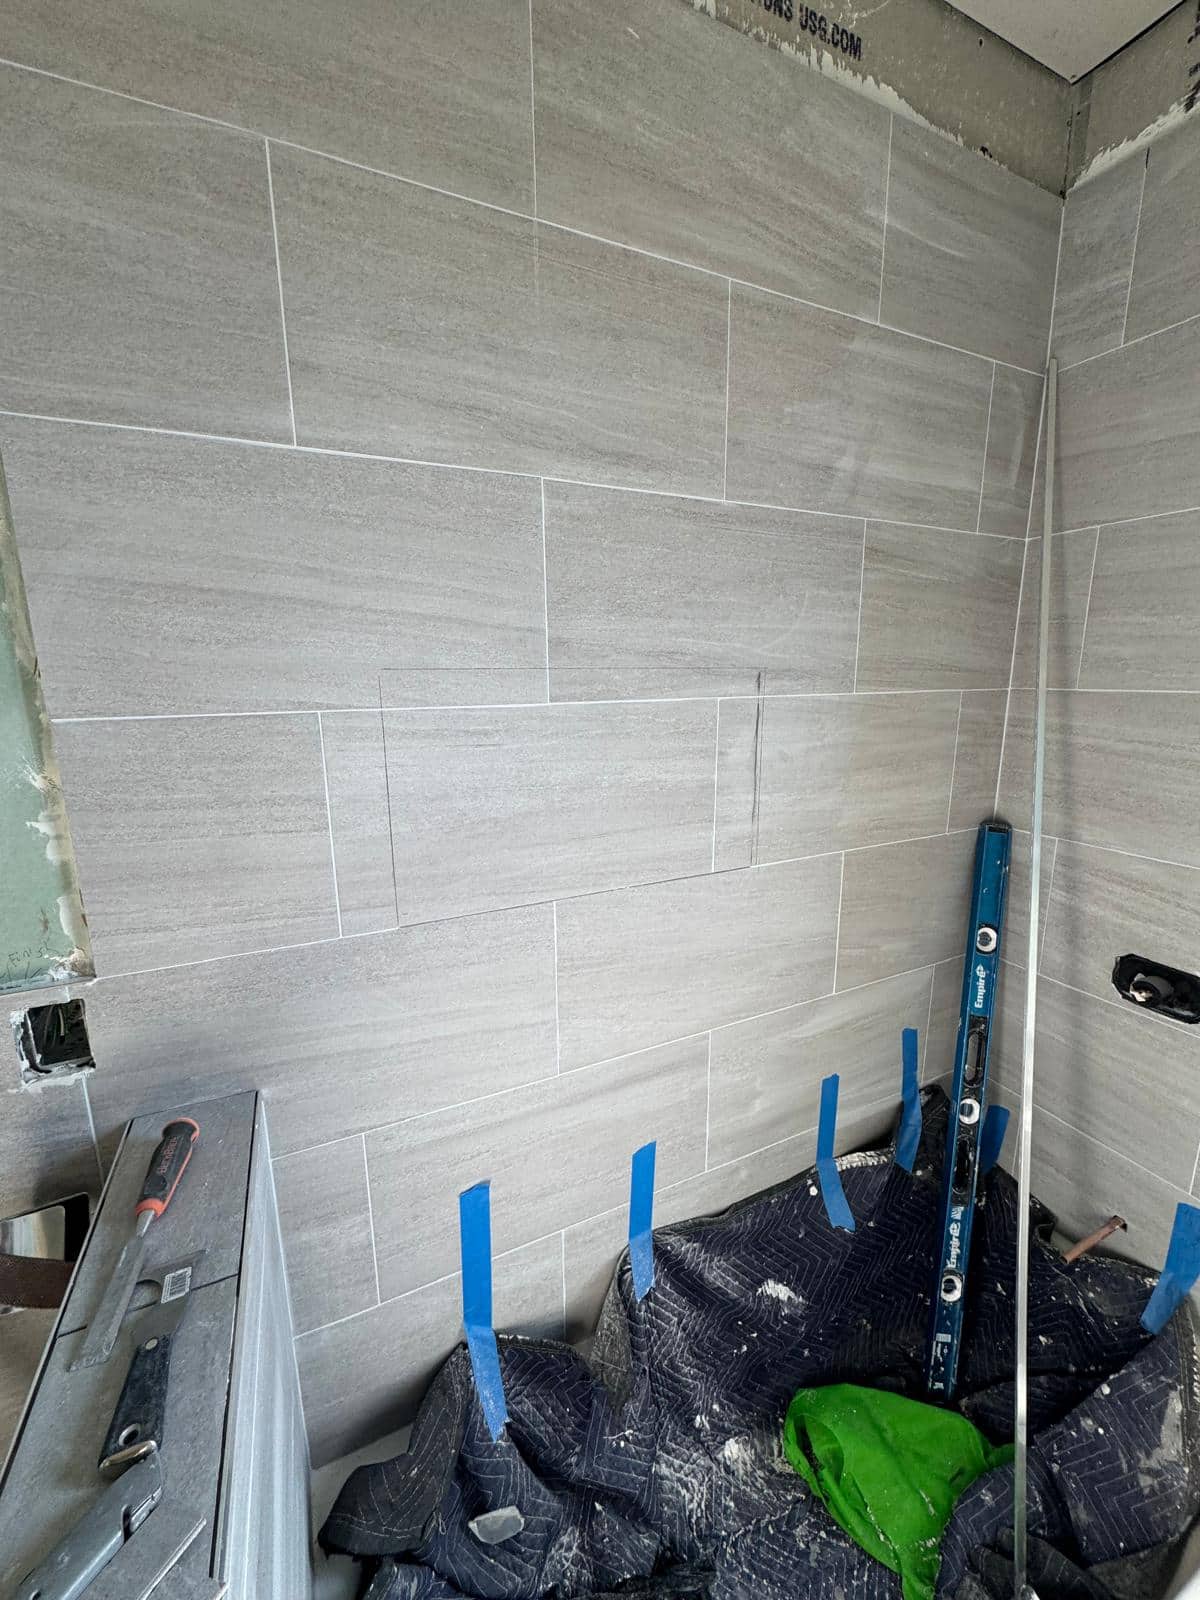
The last tile cuts can make a simple gray tub wall look composed or improvised.
A close view of the final cuts
This closer view of a gray tub surround draws attention to the cuts around the recessed niche and the unfinished edge. A small shift in those lines can change the whole wall, even when the tile itself is simple.
A closer crop can be more useful than a finished room shot when choosing a tile layout. Here the niche opening and outside edge invite a specific conversation about cut size and trim. That is especially helpful with long tile, because a narrow last piece at the edge can draw attention even if the rest of the wall is straight.
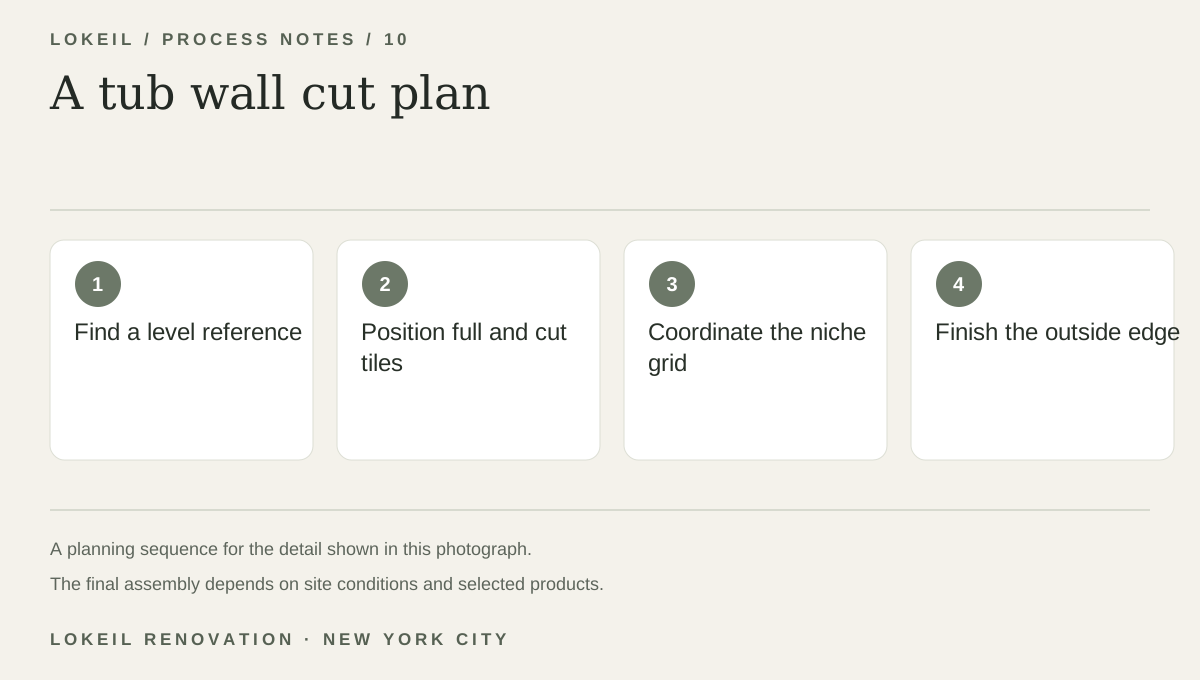
A tub wall cut plan
- 1Find a level reference
- 2Position full and cut tiles
- 3Coordinate the niche grid
- 4Finish the outside edge
Check the tile grid on the wall
The installer first checks level, tub line, niche dimensions, and where full tiles will land. The visible edge treatment should be chosen before the final rows are set. Wet area details underneath must already be resolved at this stage.
Choose the edge treatment early
Ask for a layout conversation before tile is installed. Show whether you prefer a trim profile, a mitered corner, or another compatible finished edge, and confirm what is available for your tile.