Loading LOKEIL Renovation…
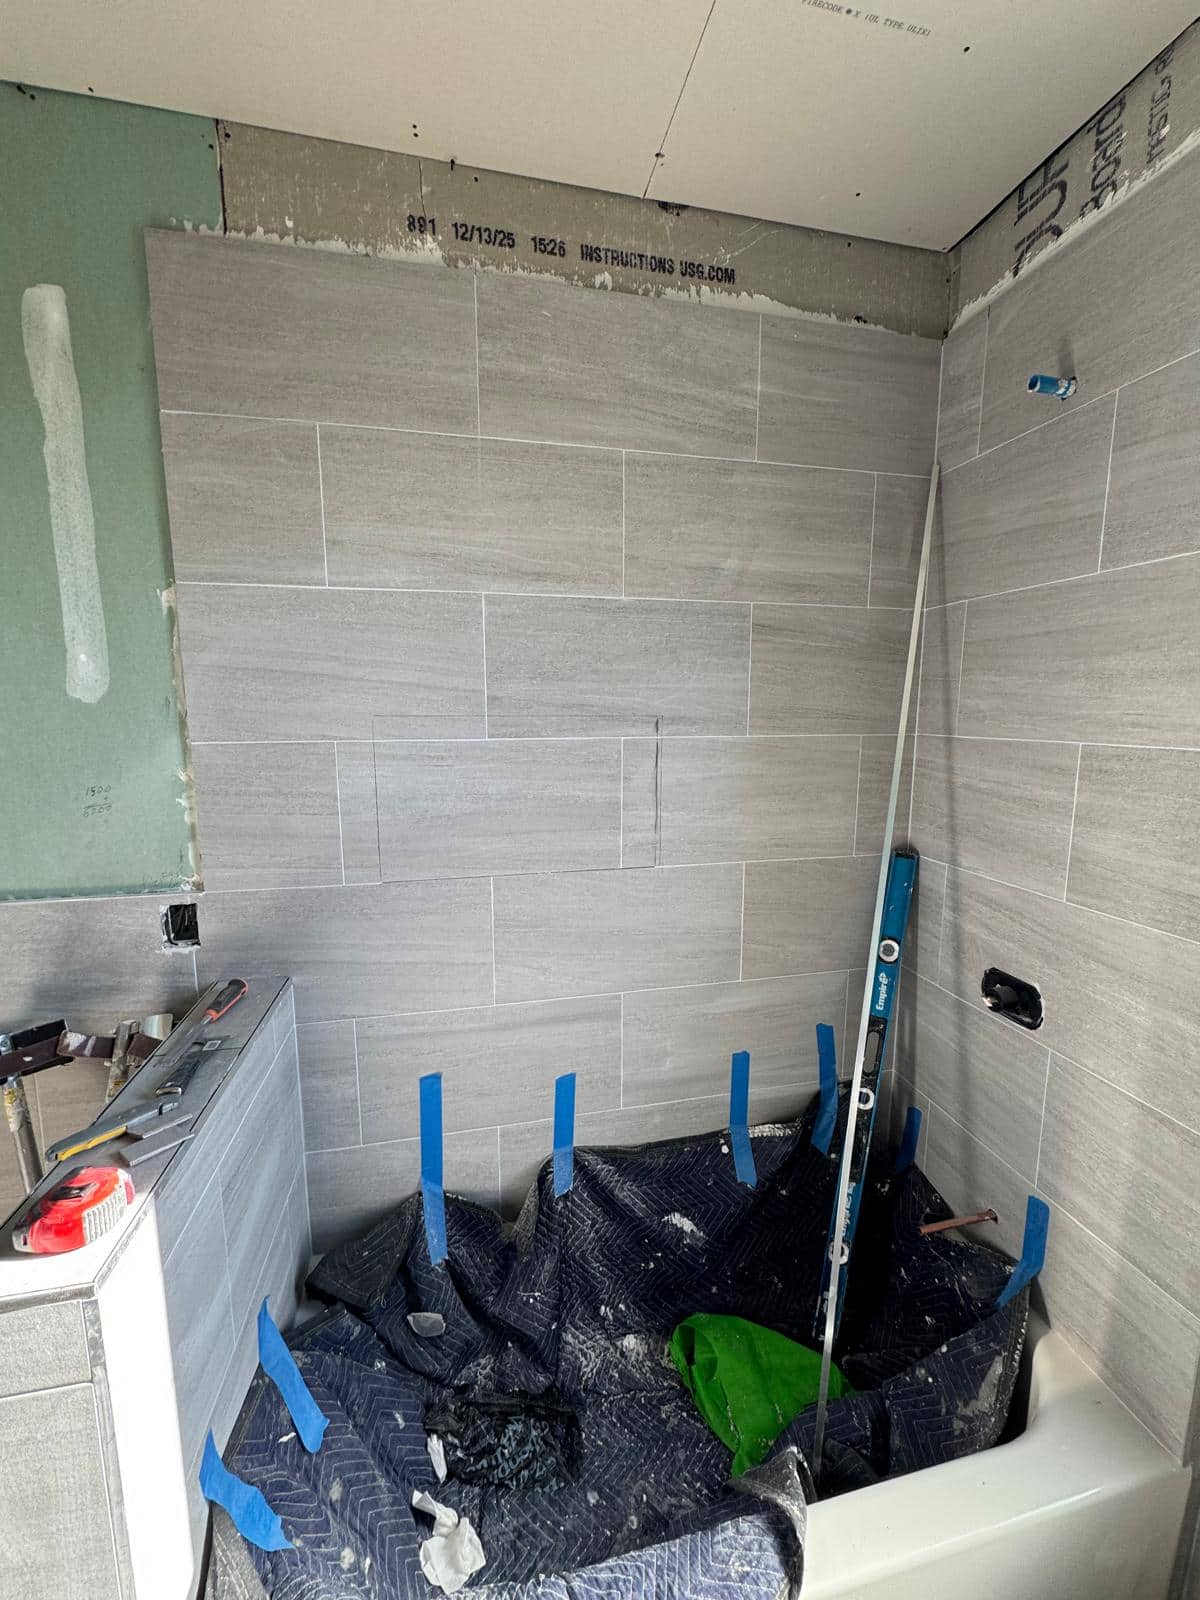
This unfinished tub wall makes the niche and outside edge more revealing than the finished tile color.
Follow the grout lines into the niche
The gray horizontal tile is being built around a tub and recessed niche. Open edges make the sequence visible: the niche, field tile, and outside corners must line up before the final trim and fixtures make the wall look complete.
The niche sits within long horizontal rows, so its top and bottom edges will be compared with every grout line nearby. That is more demanding than simply cutting a hole and tiling inside it. The open edge at the side also shows a finish decision still pending. Those are the small choices that determine whether a simple tile looks orderly.
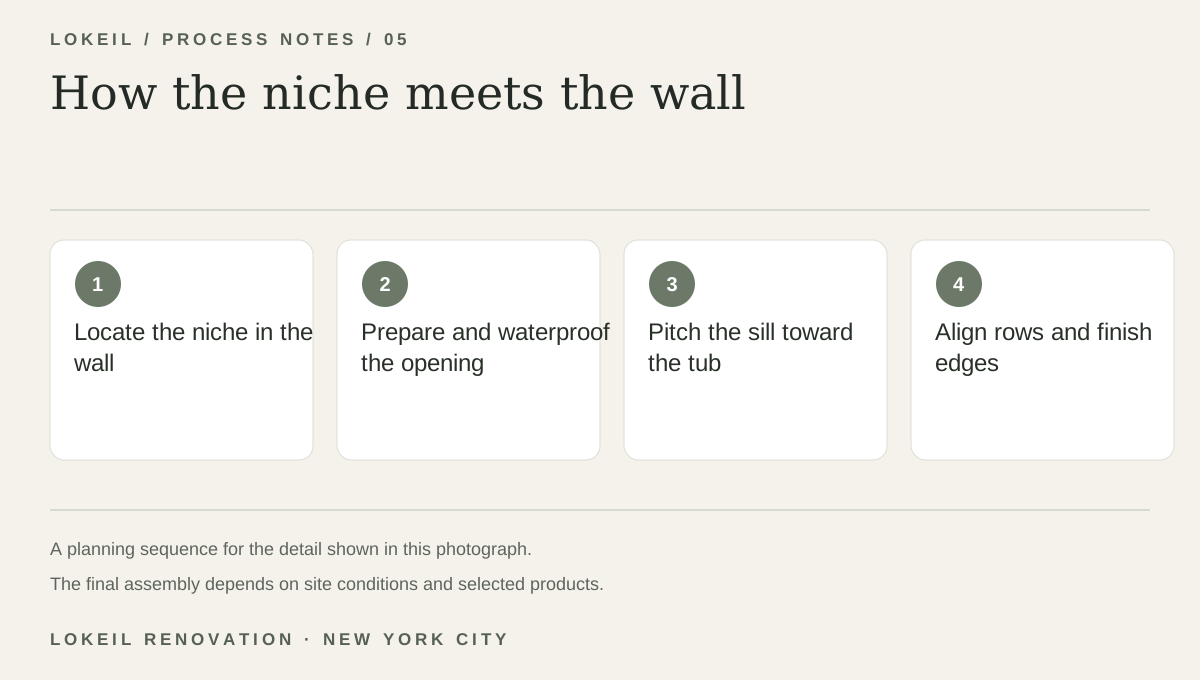
How the niche meets the wall
- 1Locate the niche in the wall
- 2Prepare and waterproof the opening
- 3Pitch the sill toward the tub
- 4Align rows and finish edges
Resolve the wet area opening
A niche changes the wall framing and waterproofing detail. Its sill needs a deliberate slope toward the tub or shower, while the surrounding tile cuts need to meet cleanly. The visible tile does not establish which waterproofing method was used beneath it.
Show your contractor the bottles you expect to store and the wall where you want the niche. Ask how the niche, trim, and tile pattern will meet before work starts, since those details are difficult to revise after setting.