Loading LOKEIL Renovation…
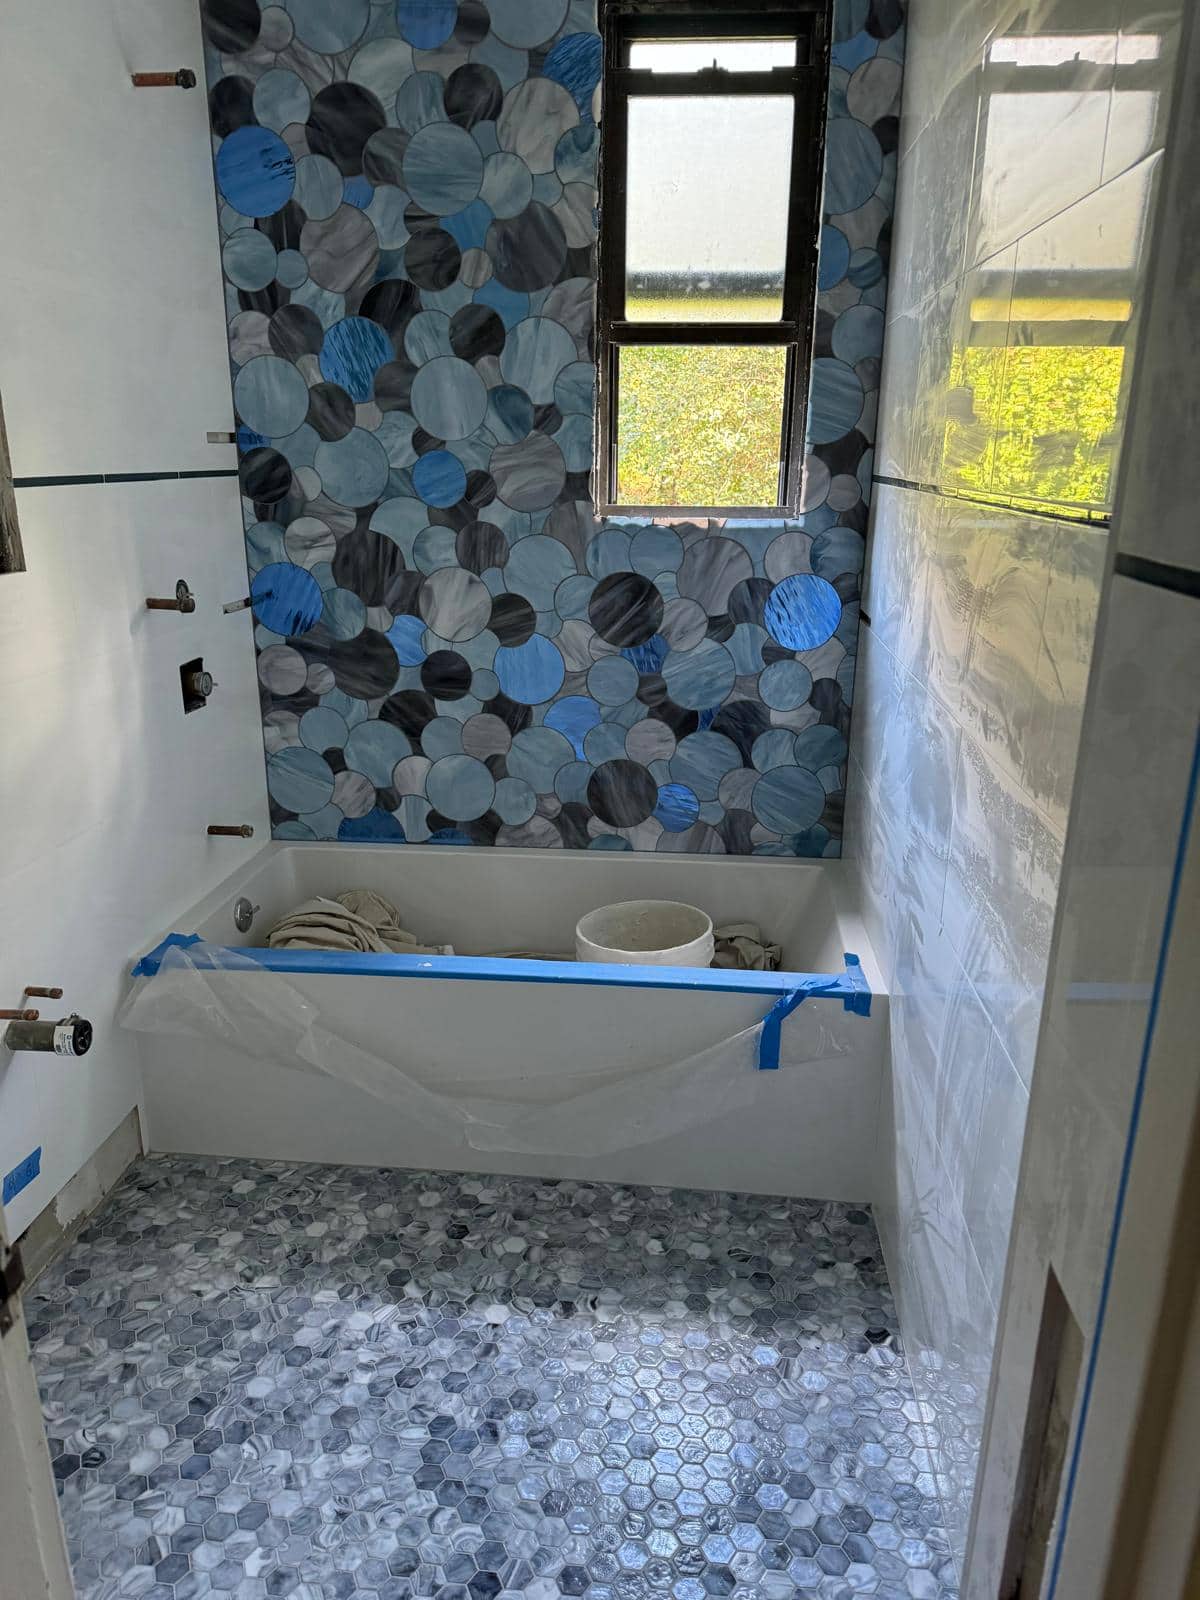
The blue tile draws the eye, but the window is the detail that deserves the first discussion.
Why the window matters
Blue tile creates a feature wall above a tub, with a window interrupting the field. The window is the critical detail in this photograph because it adds corners, a sill, and a source of water exposure inside the bathing area.
A window inside the tub area deserves more attention than an accent color. Water can collect on the sill and reach its corners. The blue tile makes that area attractive, but the practical conversation is about slope, edge details, and the existing window condition. If there is any staining, include it in the initial photos rather than covering it with a finish selection.
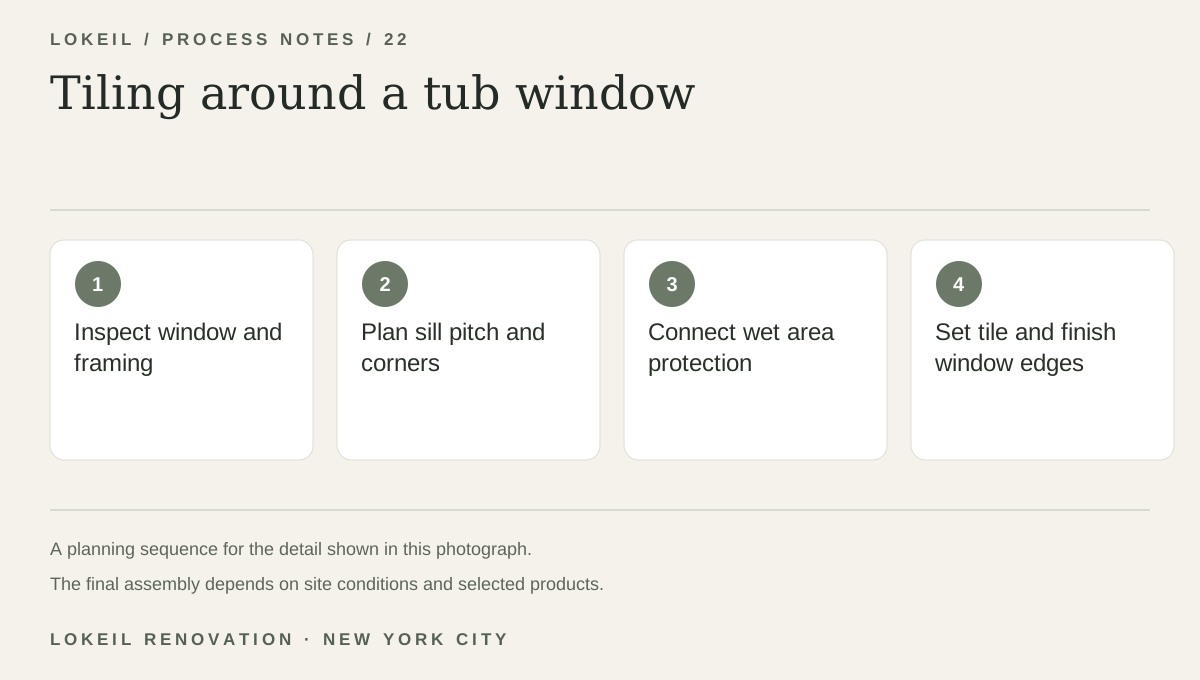
Tiling around a tub window
- 1Inspect window and framing
- 2Plan sill pitch and corners
- 3Connect wet area protection
- 4Set tile and finish window edges
Keep water moving away from the sill
Tile layout around a window should account for the reveal, sill pitch, edge treatment, and the wall assembly behind it. In a wet zone, the window junction needs a waterproofing detail that fits the selected system.
Show any staining before work starts
If your tub has a window, include close photos of its sill and any staining or soft material. Ask how the window edges will be finished before choosing a feature tile that needs precise cuts.