Loading LOKEIL Renovation…
The blue tile is striking, yet the niche decides whether the wall feels intentional.
Read the vertical lines
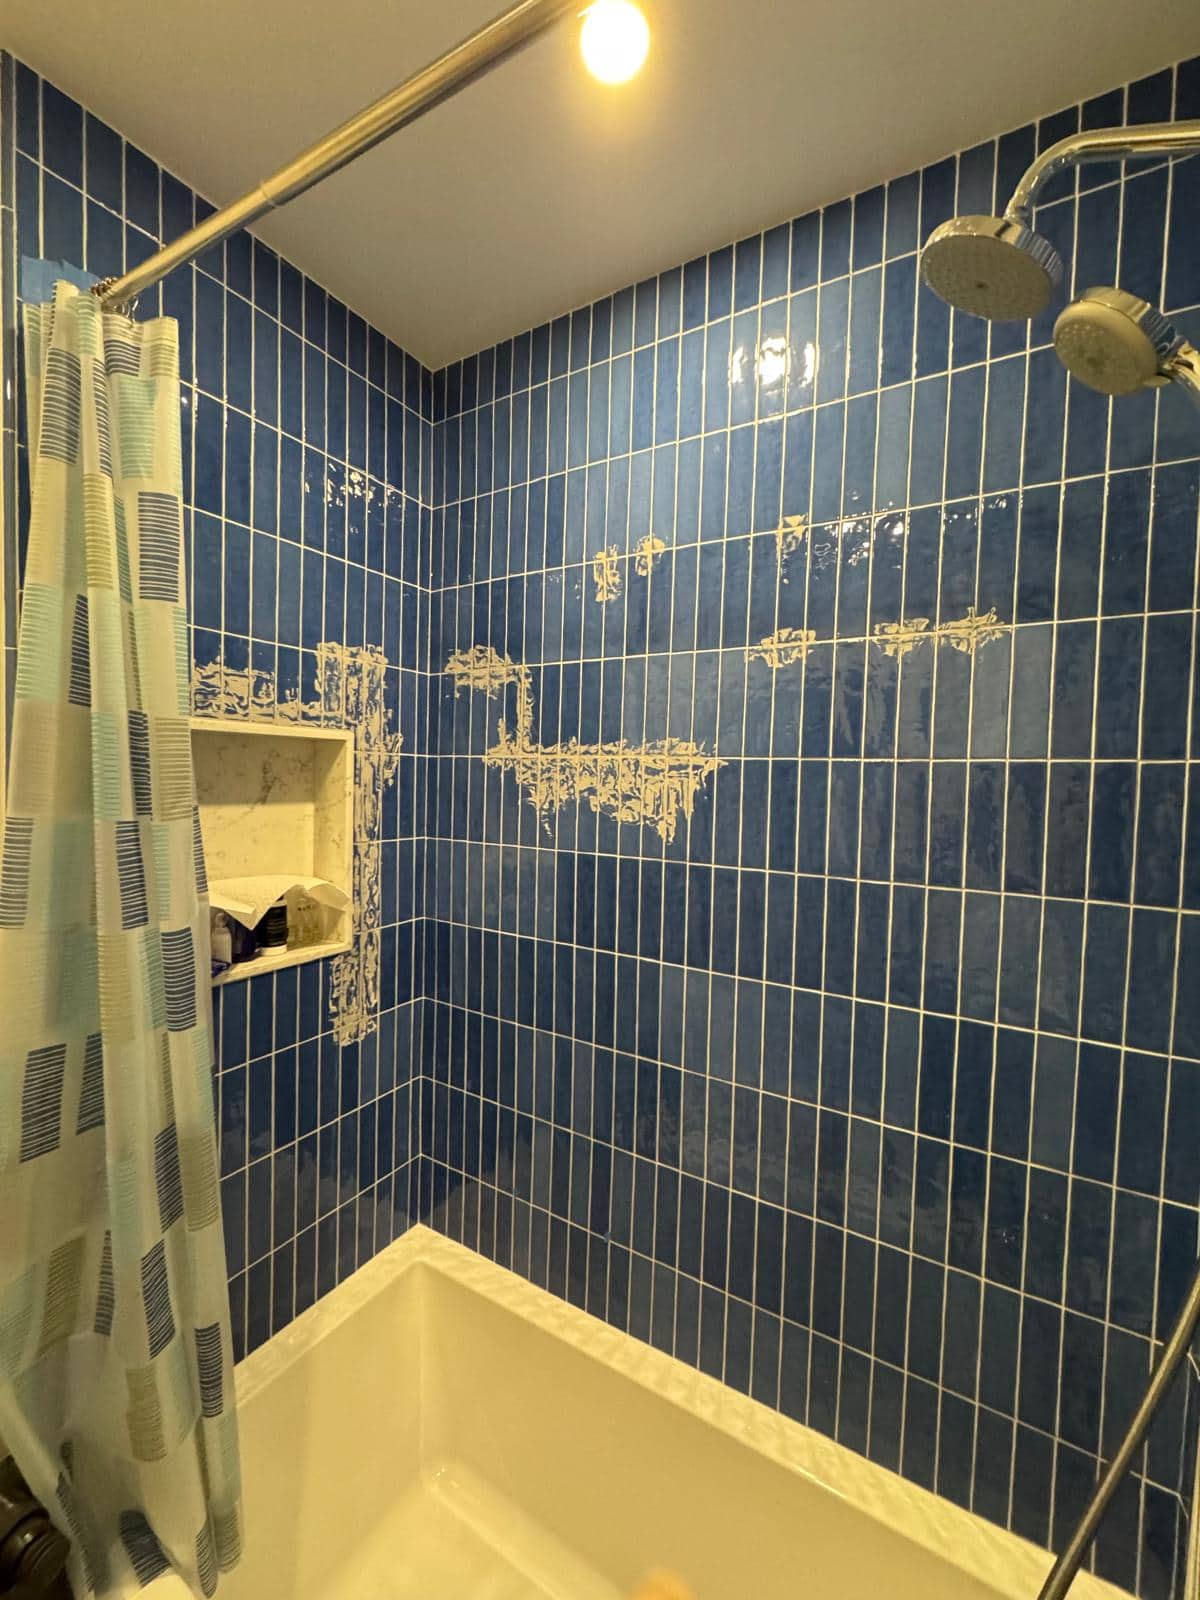
Deep blue vertical tile gives this tub wall its rhythm, but the light patches show that the wall was photographed during the work. A recessed niche interrupts the pattern without taking space from the bathing area. The white tub adds contrast beneath the blue field.
The niche is placed on the wall that catches the eye first. That makes it useful storage, but also a design feature. Notice how the surrounding vertical lines continue past the opening. If the niche were moved a few inches, the cuts around it would change. That is why its location belongs in the tile layout discussion, not just the framing discussion.
Place the niche before setting tile
A vertical layout starts with a level reference and a plan for cuts at the tub, ceiling, corners, and niche. In a wet area, the wall assembly and waterproofing details must be selected and completed before the tile is set. The photograph shows the tile stage, not the concealed waterproofing system or final cleanup.
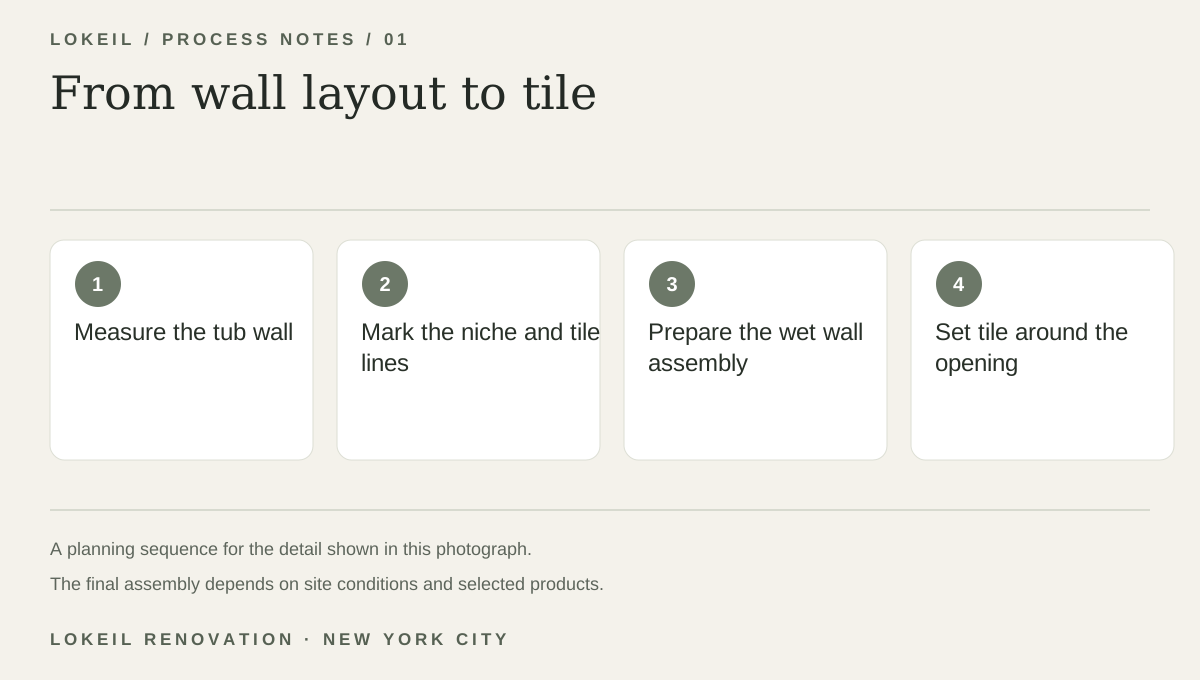
From wall layout to tile
- 1Measure the tub wall
- 2Mark the niche and tile lines
- 3Prepare the wet wall assembly
- 4Set tile around the opening
Bring your tub wall measurements
If you want a similar bathroom, send a wide photo of the existing tub wall and the dimensions of the space. Decide whether the niche should hold tall bottles and whether you want a strong color across every wall or only one focal wall.