Loading LOKEIL Renovation…
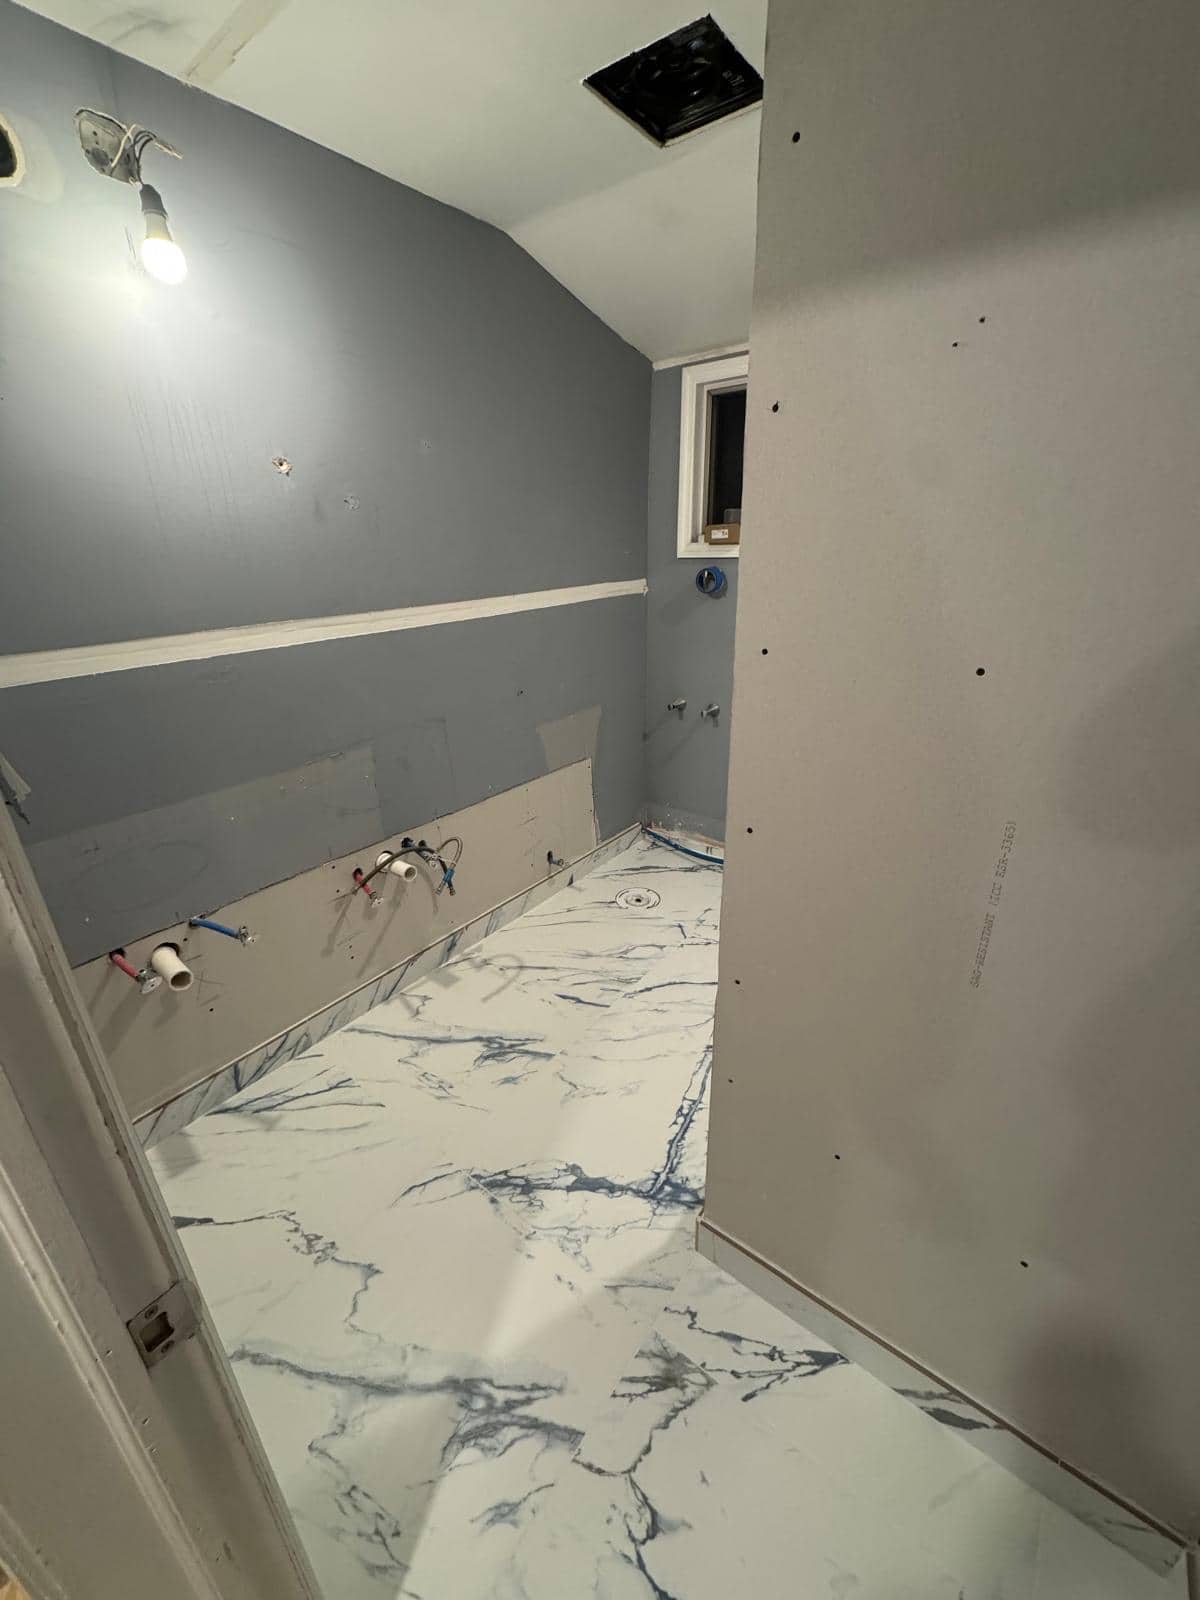
Color is the visible change here; wall preparation determines how polished it looks.
Color beside the new floor
A blue gray wall gives this bathroom color while a pale floor and fixtures keep it light. The image shows a room in progress, so the interesting question is how the painted surface meets tile, trim, and the fixtures still to be finished.
Color can give a compact bathroom personality without changing every hard surface. The blue gray wall works beside a pale floor because the two surfaces have different visual weight. The practical question is whether the wall is ready for paint. A patch that looks flat before priming may show again under the final color and bathroom lighting.
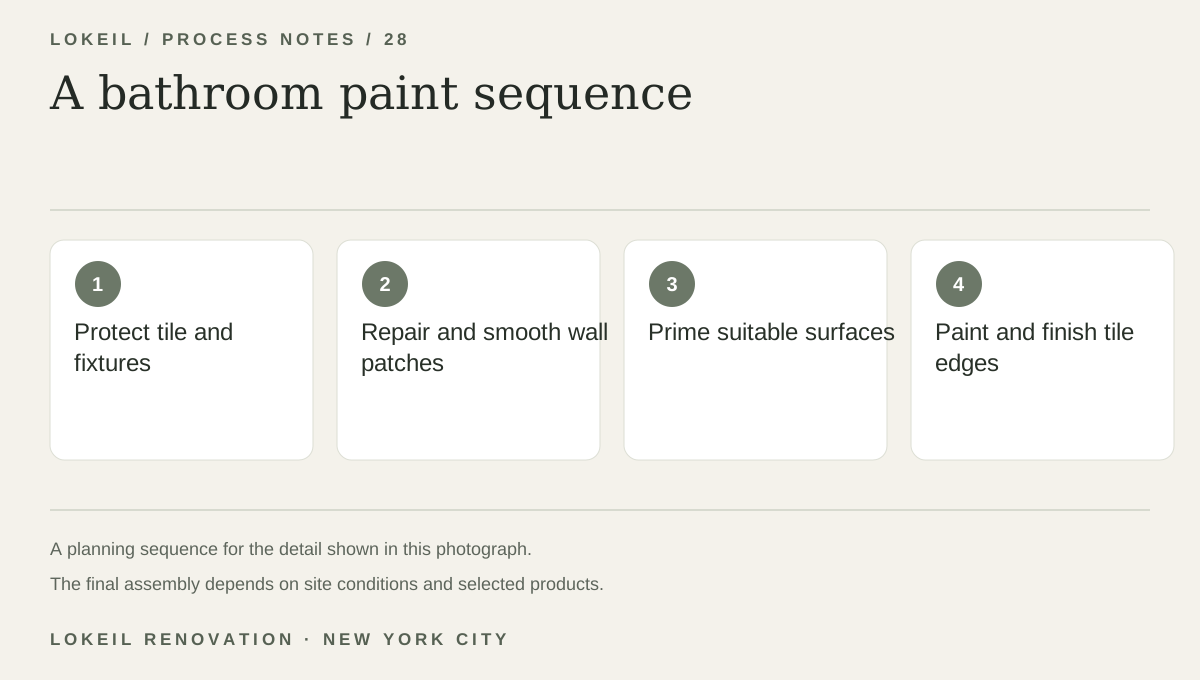
A bathroom paint sequence
- 1Protect tile and fixtures
- 2Repair and smooth wall patches
- 3Prime suitable surfaces
- 4Paint and finish tile edges
Make the surface ready for paint
Painting after renovation starts with protection, repair, sanding as needed, and a primer suited to the surface. Finish coats follow only after the wall is sound and dry. Edges at tile, vanity, and trim need a careful final pass.
Define which edges are included
If you are pricing a bathroom refresh, point out every wall patch and paint line you want included. Ask whether ceiling, door, trim, and moisture appropriate paint are in the scope, since those are often separate choices.