Loading LOKEIL Renovation…
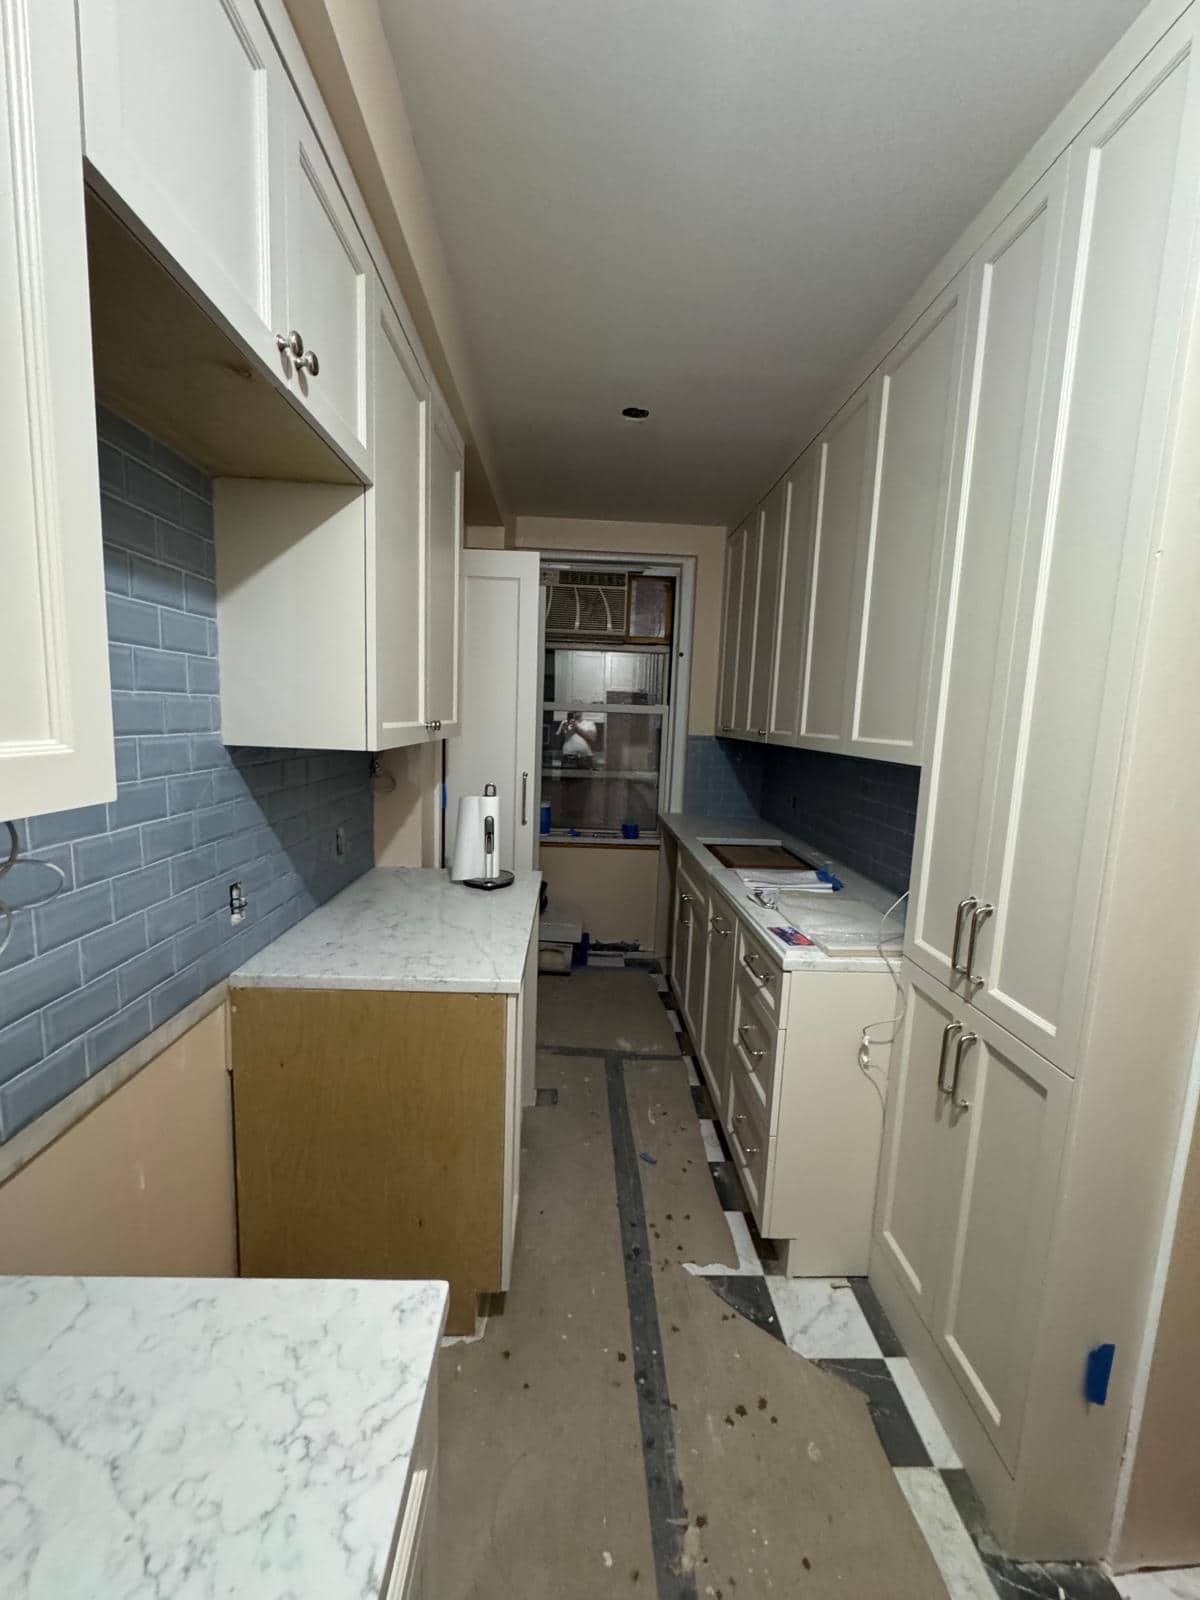
A backsplash is one of the last visible layers in a kitchen, but its edges are decided much earlier.
What is still in motion
This photograph catches a kitchen before the finishing work is complete. Cabinets frame a blue backsplash, while open and protected areas show that installation is still underway. It is a useful reminder that a backsplash is fitted to the real cabinet and counter layout.
The blue field gives this kitchen a clear focal point, but the photo also shows why the work sequence matters. Cabinet installation establishes the edges for tile; the tile does not decide where the cabinets go. If you change cabinet depth or counter thickness late, the backsplash height and outlet alignment may need another look.
Cabinets set the limits
Cabinet position, counter height, outlets, and the range area determine where a backsplash starts and stops. The tile layout should be checked before setting so narrow slivers do not land in the most visible corners. Outlet covers and finish caulk belong at the end.
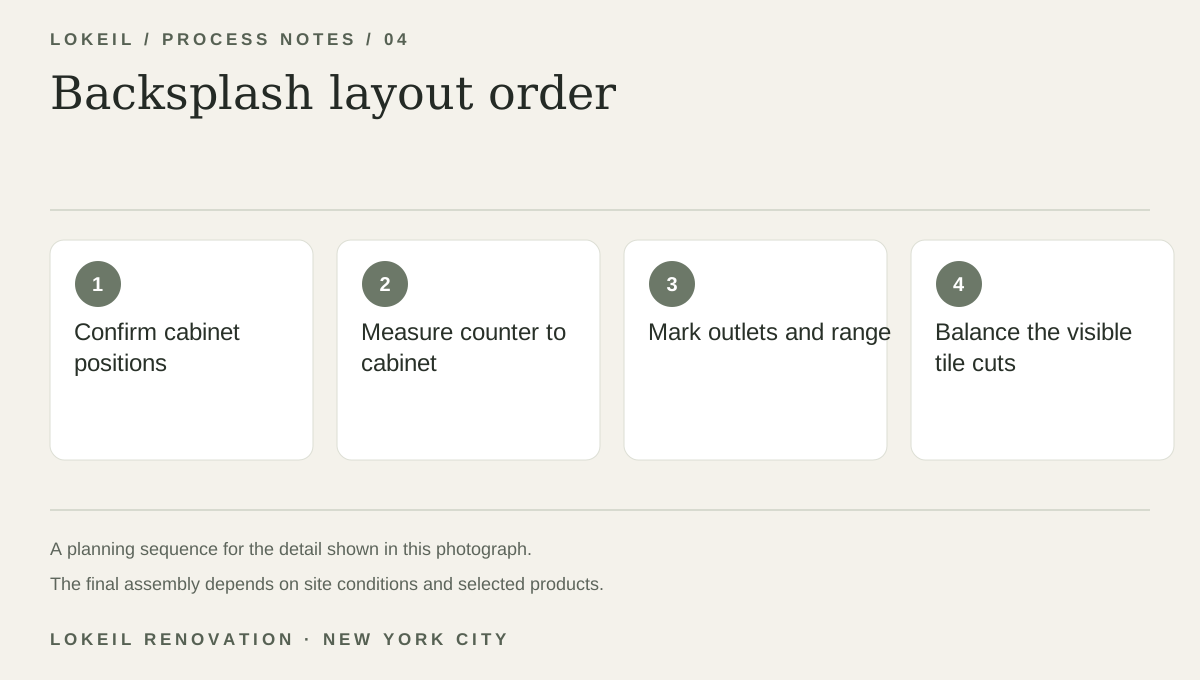
Backsplash layout order
- 1Confirm cabinet positions
- 2Measure counter to cabinet
- 3Mark outlets and range
- 4Balance the visible tile cuts
Photograph every endpoint
When requesting a kitchen quote, send one wide wall photo and close views of outlets, the range, and cabinet ends. Pick backsplash tile after the cabinet and counter plan is firm, especially if the tile has a visible pattern.