Loading LOKEIL Renovation…
One scallop tile sample cannot show how the curves will end at every edge.
Turn the sample both ways
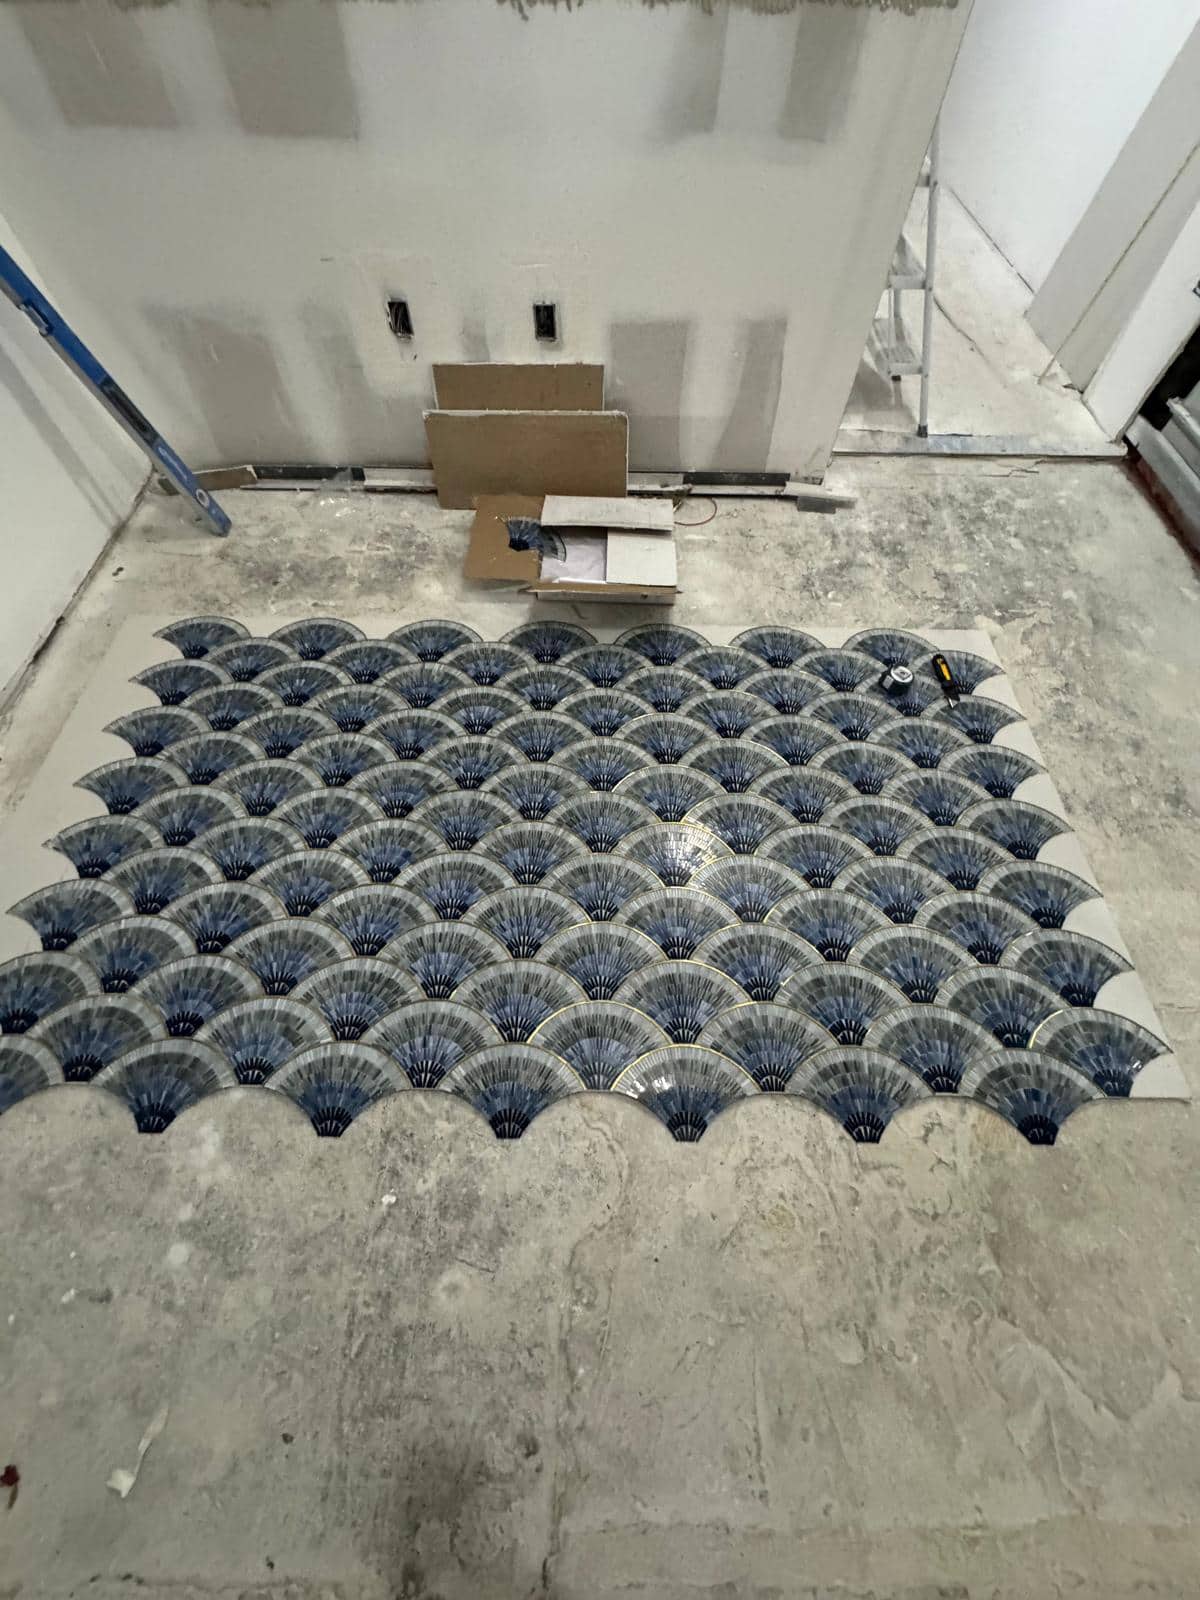
A section of blue scallop tile is laid out against an unfinished floor. The repeated curved shape creates a different challenge from square tile: orientation and starting point control how the pattern looks at the room edges.
A scallop pattern can read like waves or overlapping leaves depending on which way it faces. That is a design decision, not an installation accident. Ask to see the orientation in your room before the setting material is mixed. Also look at how the curved shapes finish at the threshold, where a decorative pattern may need a clean transition.
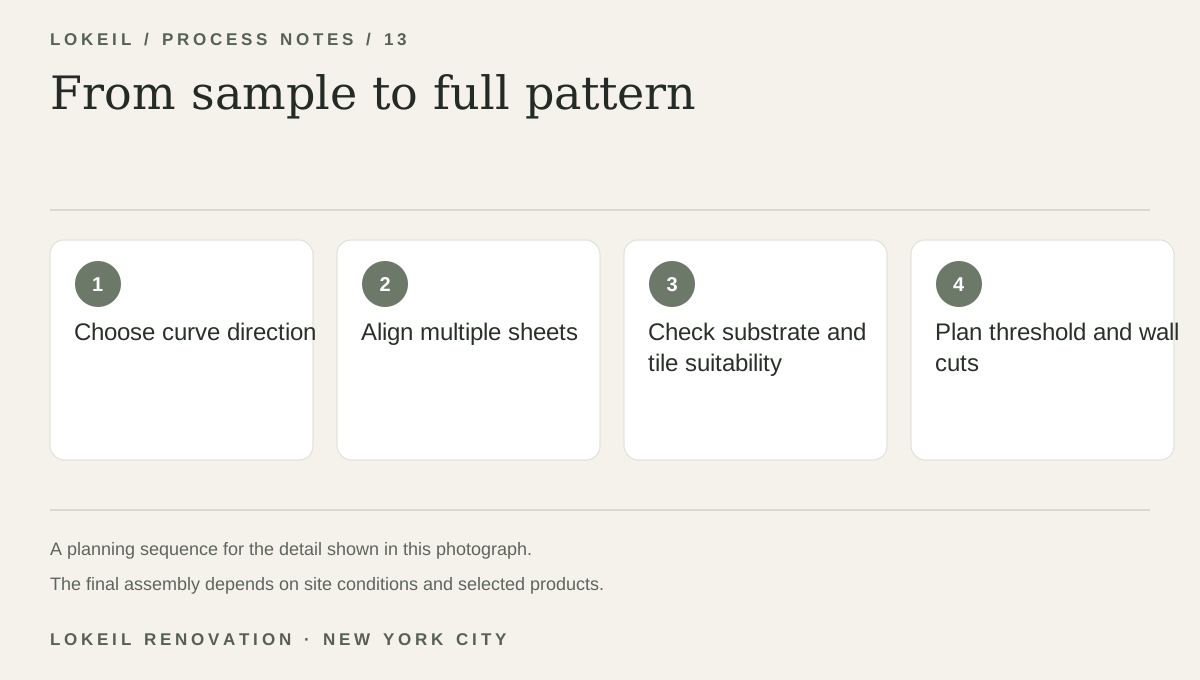
From sample to full pattern
- 1Choose curve direction
- 2Align multiple sheets
- 3Check substrate and tile suitability
- 4Plan threshold and wall cuts
Lay out several sheets together
Before fixing this kind of tile, the installer checks sheet alignment and dry layout. The base must be suitable for the selected tile assembly. Cuts at thresholds, walls, and fixtures need attention because a decorative shape makes awkward half pieces more obvious.
Check the room and product specifications
Ask to see several sheets laid together before committing to the orientation. Send the tile specifications and room dimensions with your estimate request, since sheet size and material can affect prep and installation.