Loading LOKEIL Renovation…
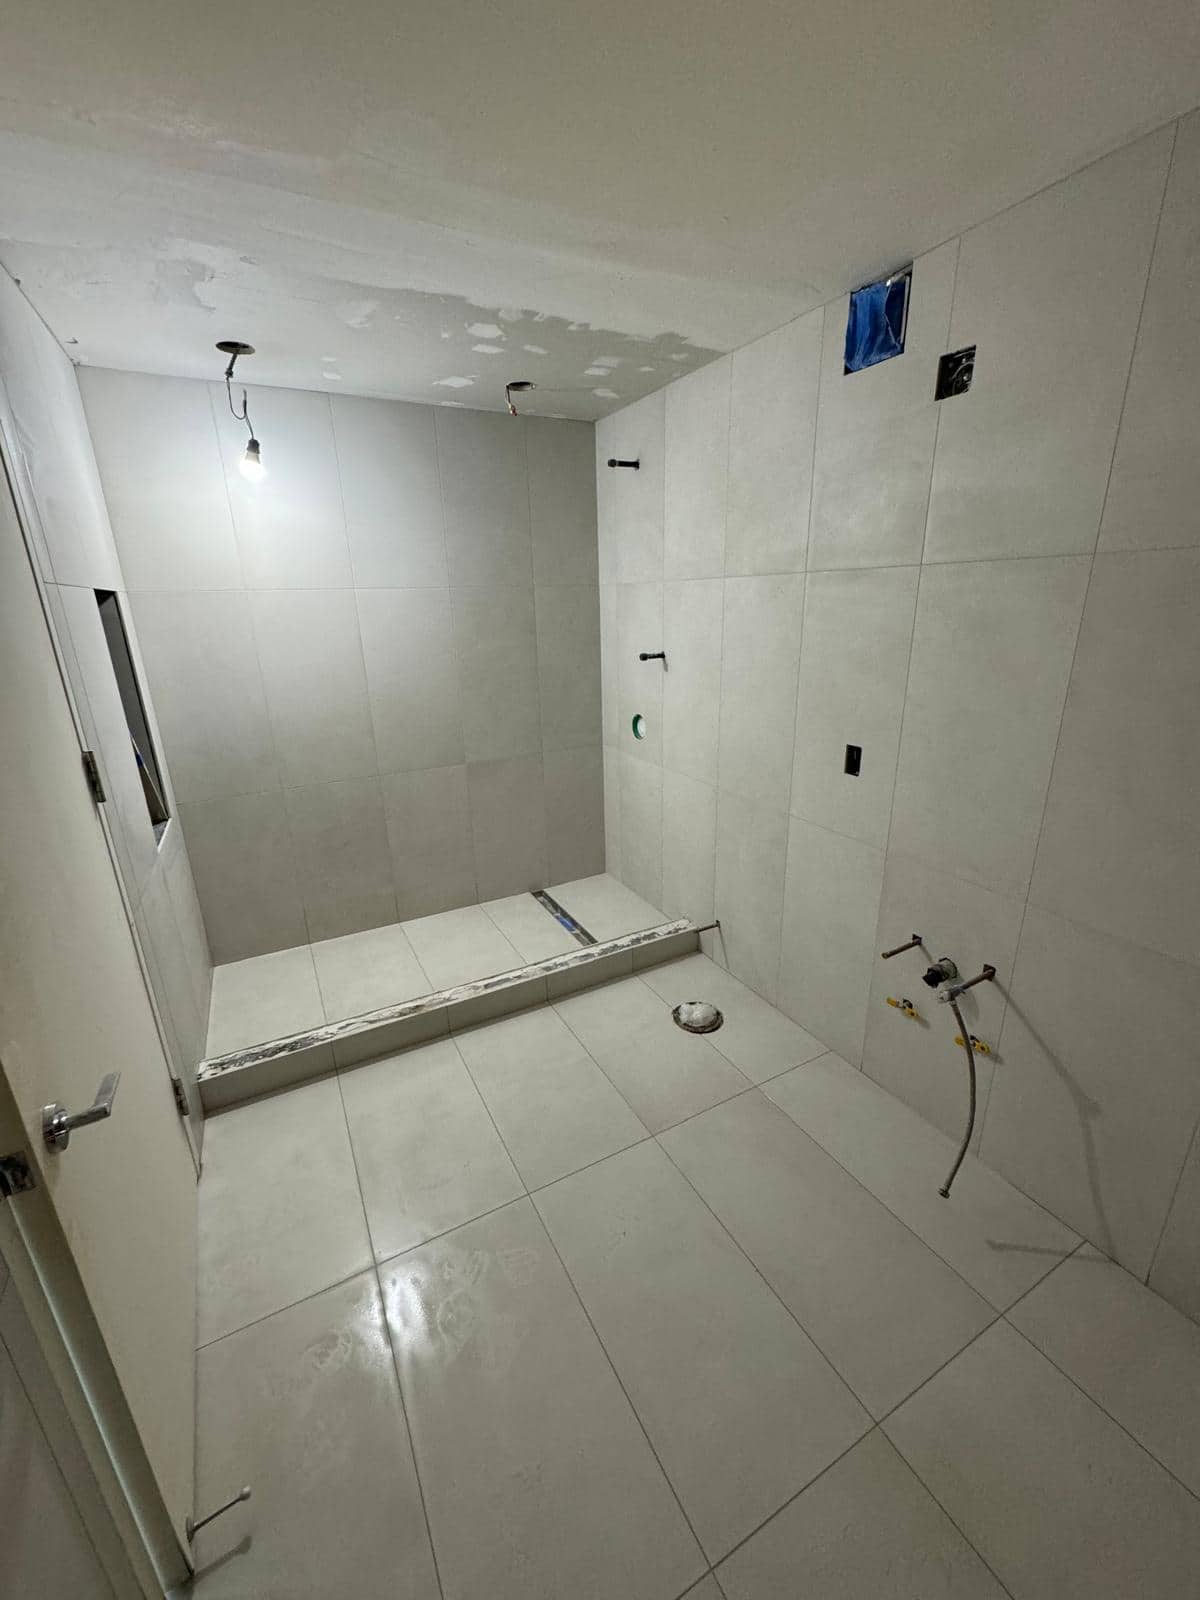
Seeing the shower wall and floor together makes the base detail more important than either tile alone.
The meeting line in one view
This angle shows the pale shower walls and floor together, with hardware still to come. Seeing both surfaces in one view makes their meeting line and the scale change between wall and floor easier to judge.
This broader angle makes the joint between floor and wall the main visual line. It is also a wet area detail that belongs to a complete shower system. Ask how the glass, curb or entry, and drain will connect to that system. Those choices affect the shower long before a customer decides whether the white tile is warm or cool.
Treat the base as one wet system
Wall tile, floor tile, shower base, and drain form one assembly. The floor must manage water toward the drain, while the wall finish should meet the base through details compatible with the chosen system. The final fixtures are installed only after the underlying work is ready.
The shower from base upward
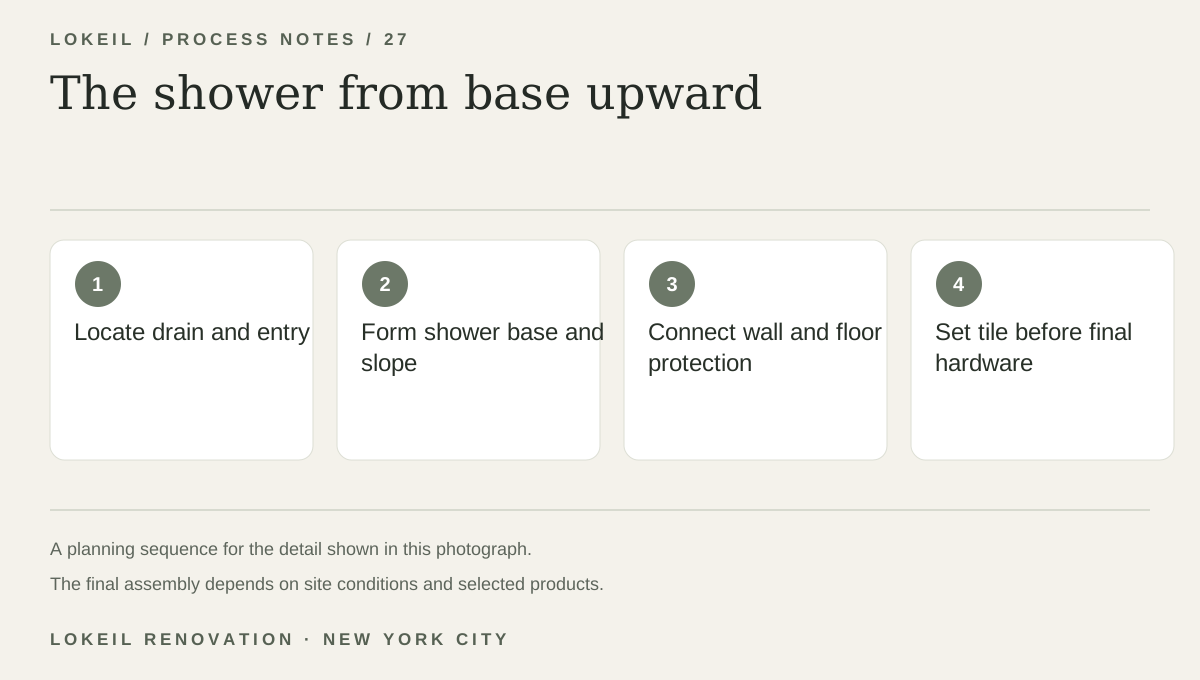
- 1Locate drain and entry
- 2Form shower base and slope
- 3Connect wall and floor protection
- 4Set tile before final hardware
Choose wall and floor samples together
For a similar bright shower, choose wall and floor samples together under your bathroom lighting. Ask how the drain, glass, and entry will look in the completed room, not only how the wall tile looks in a sample.