Chelsea · Manhattan
Choosing a Quieter Floor for a Chelsea Kitchen With Blue Cabinets
Choosing Chelsea kitchen flooring? Compare pattern, contrast, joints, and practical installation requirements beside the cabinet finish you want to keep.
4 min read · Updated · By LOKEIL Renovation
Plan a similar project →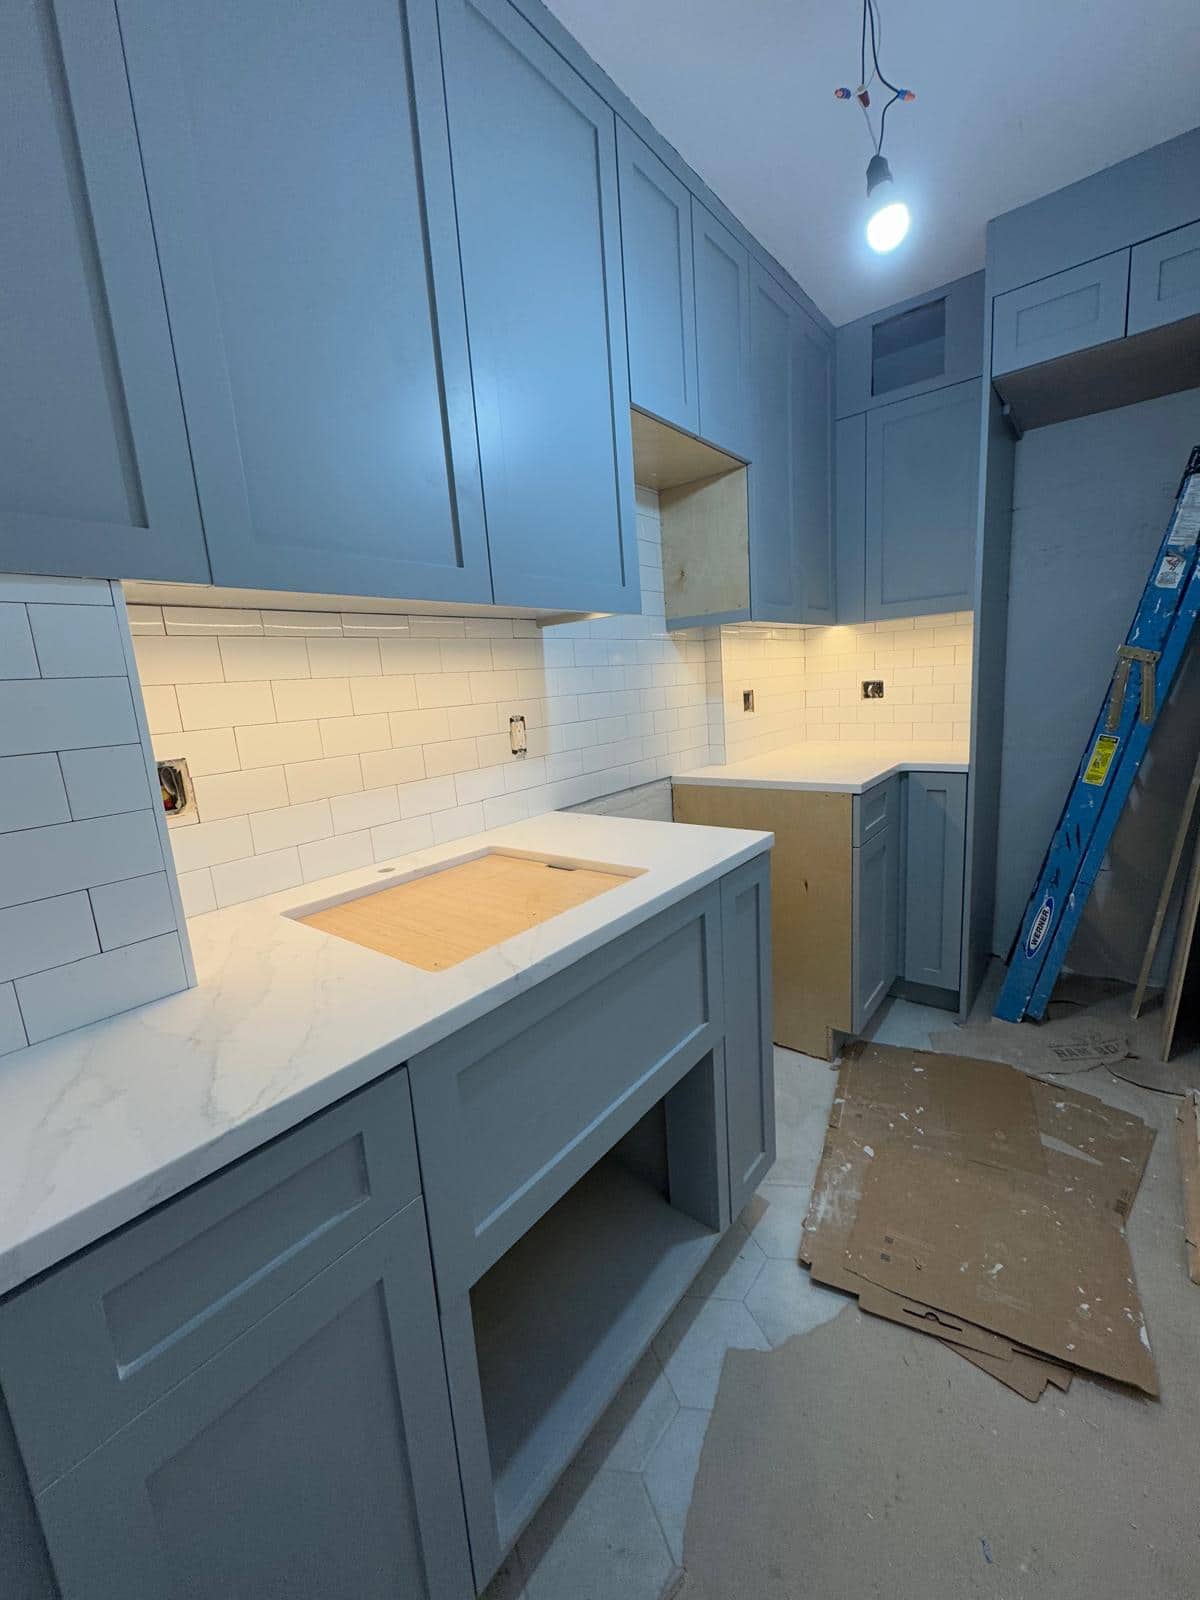
Blue cabinets already give a kitchen a strong presence. If that is the part of the room you love, the floor can support it with a simpler pattern and a color that sits comfortably beside the doors. Quiet here means visual restraint; it says nothing about sound insulation.
The blue cabinetry in this LOKEIL photograph sits above a pale counter and white rectangular backsplash. The floor is partly covered while work continues, so this is a cabinet reference rather than proof of a finished flooring choice. For a Chelsea kitchen, begin with the surfaces you want to keep and judge the floor against them.
Compare the whole floor beneath the same cabinet finish.
Give the cabinet color a clear role
Say whether the cabinets should remain the strongest feature. Then look at the counter, backsplash, wall color, and handles as a group. A floor sample that feels modest on its own may introduce another strong line or color once it sits beneath a full run of cabinetry.
Keep two or three candidates in the first comparison. Try a relatively even surface, a restrained wood look, or a gently varied tile if those suit your room. These are visual directions, not claims that one material is automatically better for a kitchen. You can prefer contrast while still giving the room a clear focal point.
Look past the color of one sample
The repeat is part of the finish. Grain, veining, plank widths, tile joints, and alternating tones can make a larger floor busier than the piece in your hand. Ask to see enough material or product imagery to understand the variation across a room, then compare it beside the actual cabinet finish.
Karndean recommends trying its flooring samples in the intended room at different times of day with existing finishes. That is useful selection guidance without identifying the floor in this photograph as a Karndean product. Put the sample on the floor rather than judging it only on a counter or a screen.
Review it from the doorway and from the place where you normally work. The first view shows the room as a whole; the second puts the floor beside the cabinet base, counter edge, and everyday traffic route. Ask what happens at the adjoining room before choosing a pattern that ends abruptly at the threshold.
| Feature | Compare in the room |
|---|---|
| Variation | The range of light and dark pieces across the full product, not only a favorite sample. |
| Visible joints | The joint color, tile or plank size, and how often lines repeat. |
| Direction | The pattern from the entrance and where it meets the next room. |
Confirm the floor can work beneath the look
Before ordering, share the exact flooring product with the installer. Ask about its suitability for the intended use, the existing base, preparation, finished height, and product instructions. A pale color does not establish durability, cleaning needs, slip behavior, or moisture performance.
Clarify which cabinets and appliances stay. The selected installation method determines how the floor meets fixed cabinetry and what clearances must remain. If appliances need to move for the work, include access and reinstatement in the agreed scope. The photograph’s unfinished openings do not establish an appliance plan.
Ask for the transition to the neighboring floor to be reviewed with the sample. A smooth looking kitchen still needs a considered edge, appropriate clearances, and a practical installation sequence. Finish selection and the floor installation estimate should use the same product information.
A closer look
Change the floor while holding the cabinets constant
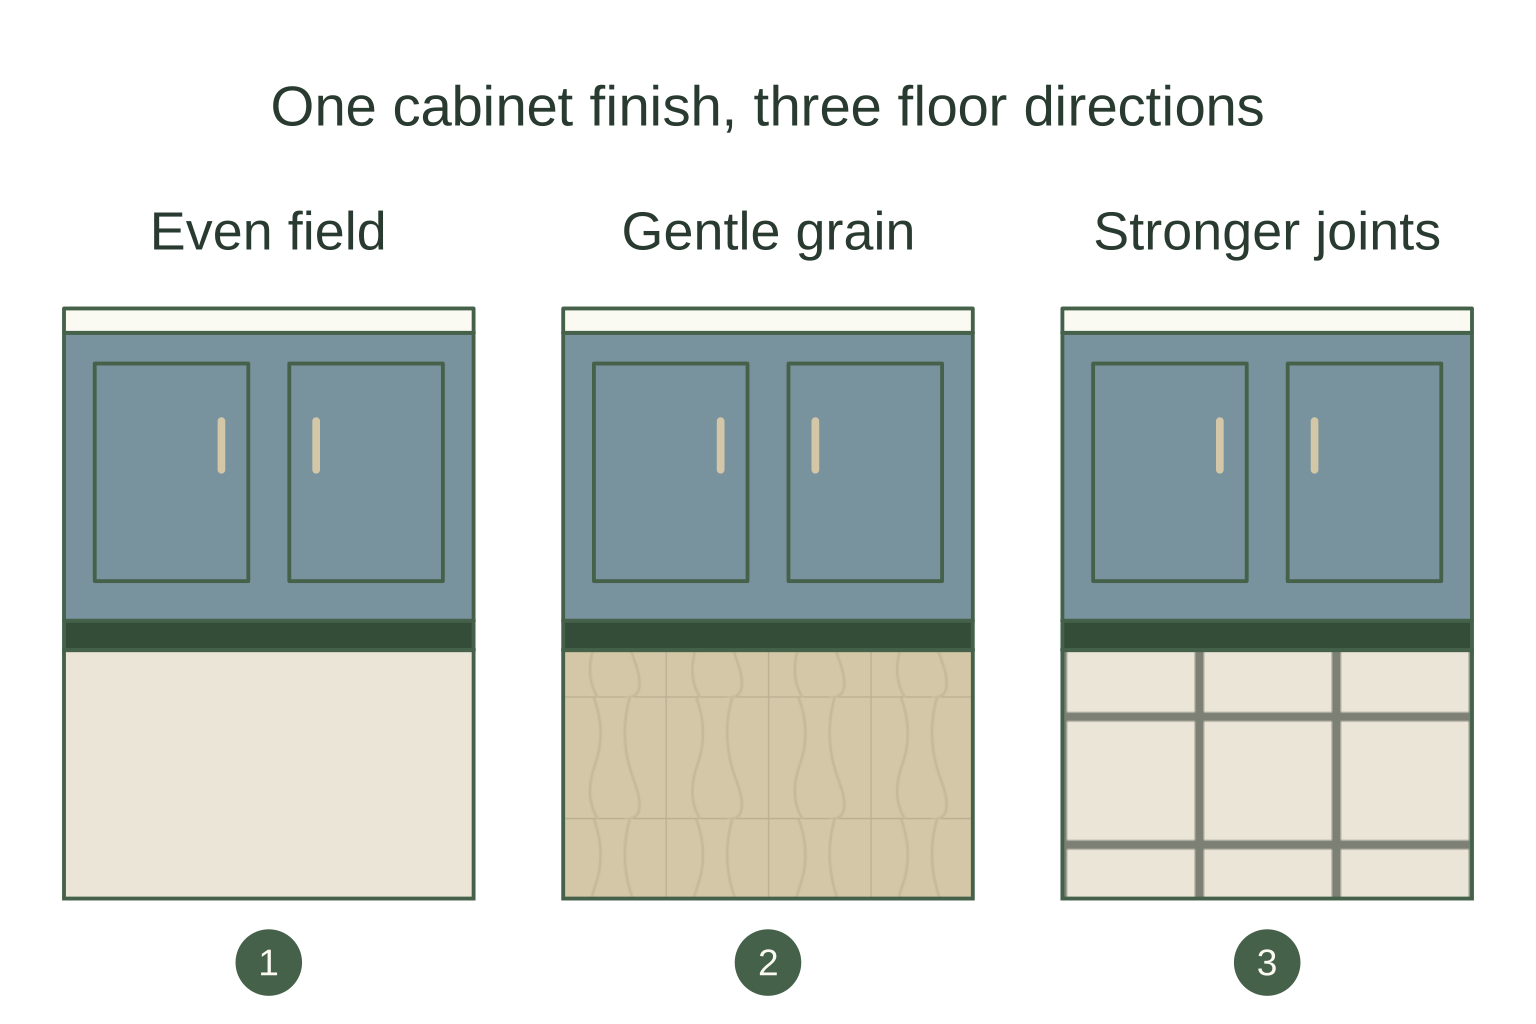
- Keep the same cabinet reference for every floor candidate.
- Compare variation, visible joints, and direction across a larger area.
- Confirm the actual product, base preparation, height, transitions, and protection.
Keep the chosen floor visible at handover
Part of this photo’s floor is protected while cabinetry and backsplash work continue. Agree how the selected or retained floor will be protected through the remaining work, using protection suited to the material. Also agree when covering comes off for cleaning and inspection.
Walk through the kitchen with the room uncovered. Look at the cabinet bases, doorway transition, exposed perimeter, and places where appliances were moved. Check the agreed finish against the product selection and scope. The aim is a floor that lets the cabinetry hold your attention while working comfortably as part of the whole room.
Choose a starting point
Keep the cabinets
Choose the floor alongside retained doors, counter, backsplash, and appliance positions.
Change cabinets and floor
Coordinate the finish palette with the selected products, installation sequence, and adjoining floor.
Your room, your next step
Plan Chelsea kitchen flooring
Prepare a short brief, then open it in your email app. Add room photos and any building requirements before sending to LOKEIL.
Preview your email brief
Hello LOKEIL, Project neighborhood: Chelsea, Manhattan I am a: Homeowner Building type: Apartment / condo / co-op Work I am considering: Floor selection beside blue cabinetry, existing base, finished height, transitions, appliance access, and protection Timing: Exploring the scope Best number to reach me: Room conditions / building access / questions: I can attach current room photos, approximate measurements, and building requirements before sending. Article I read: https://lokeilremodeling.com/blog/blue-kitchen-cabinets-during-a-backsplash-installation
This prepares an email draft. LOKEIL receives your brief only when you send it. Prefer webmail? Copy the preview and email info@lokeilremodeling.com.