Loading LOKEIL Renovation…
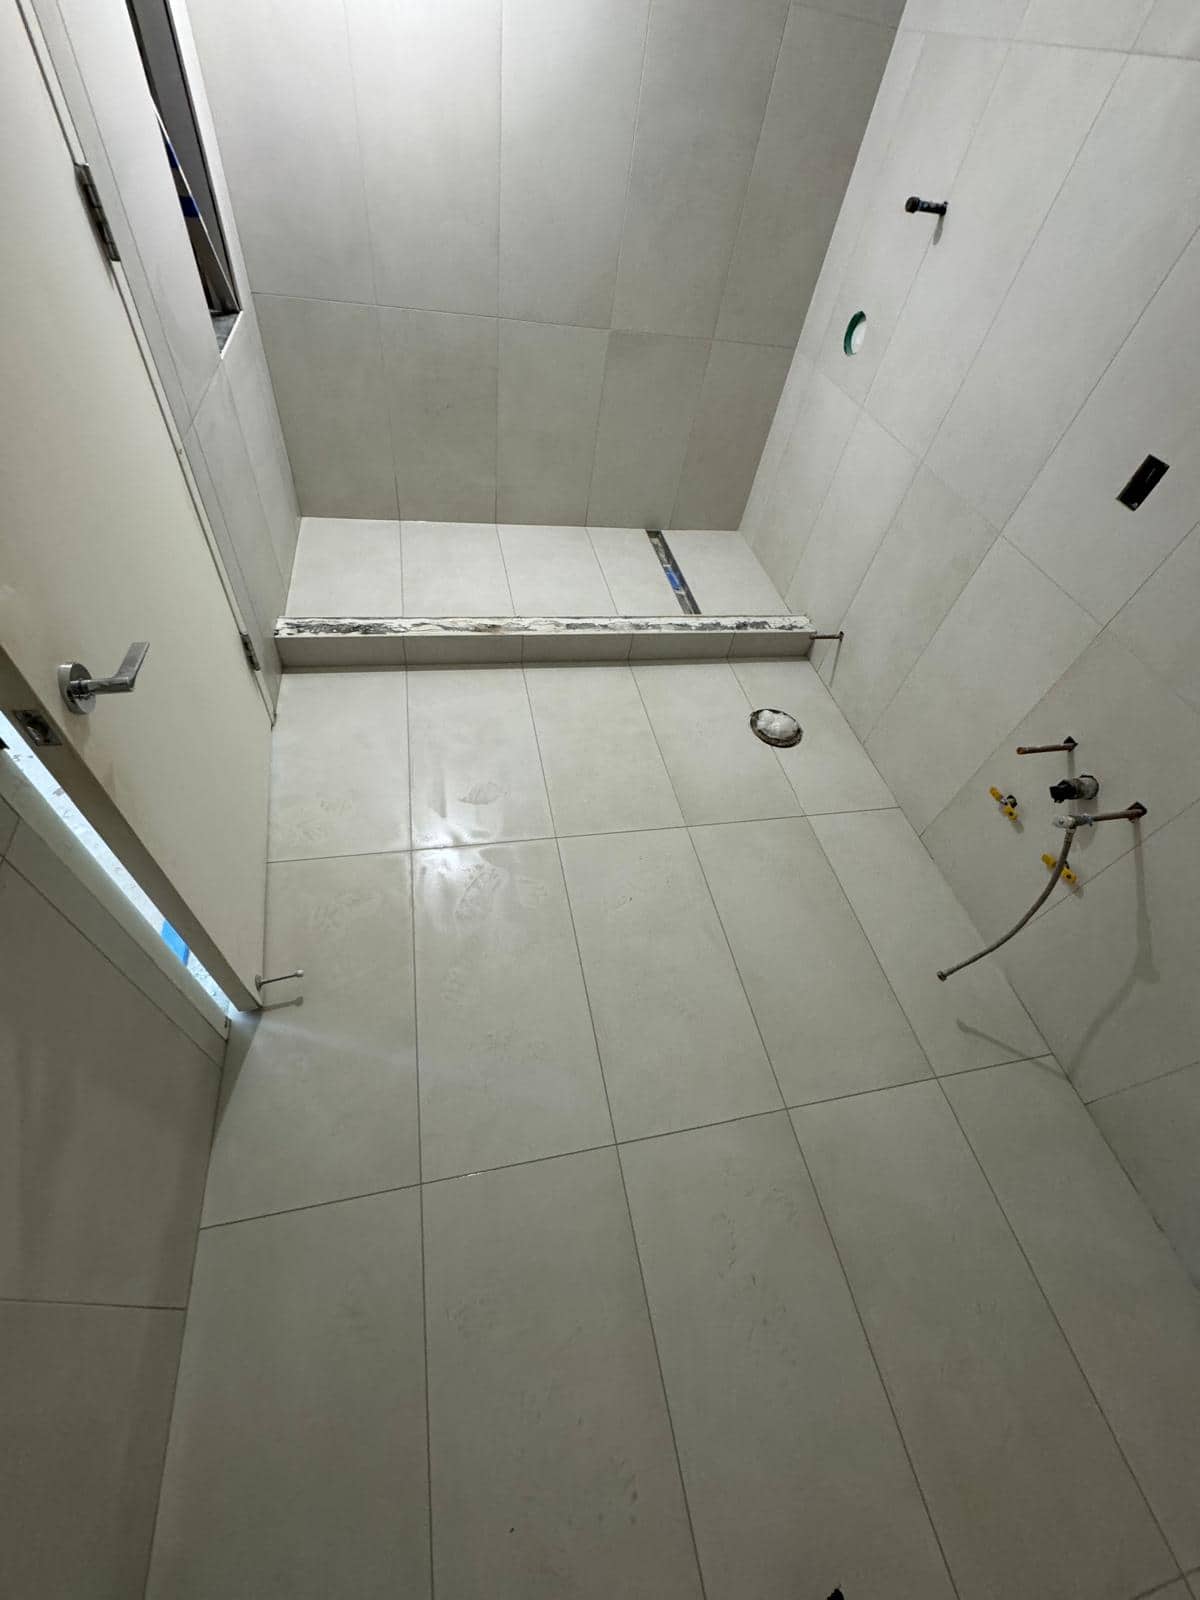
Large white shower tile reads as simple only when fixture cuts and corners are precise.
Openings in a quiet wall
Large pale tiles cover most of this shower while fixture openings remain visible. At this point the room can look close to done, but the controls, trim, sealing, and final checks still matter.
Large pale tiles look simple because there are fewer grout lines, yet each cut becomes more noticeable. Fixture openings and corners are especially visible in a light wall. Before installation, confirm the exact trim kit and the planned tile layout. A different trim plate can change how much room the installer has to make an opening look clean.
Select fixtures before cuts
Have the faucet and shower trim selected before tile cutting begins. For a quote, provide the fixture model or a clear reference so openings and finish expectations can be discussed.
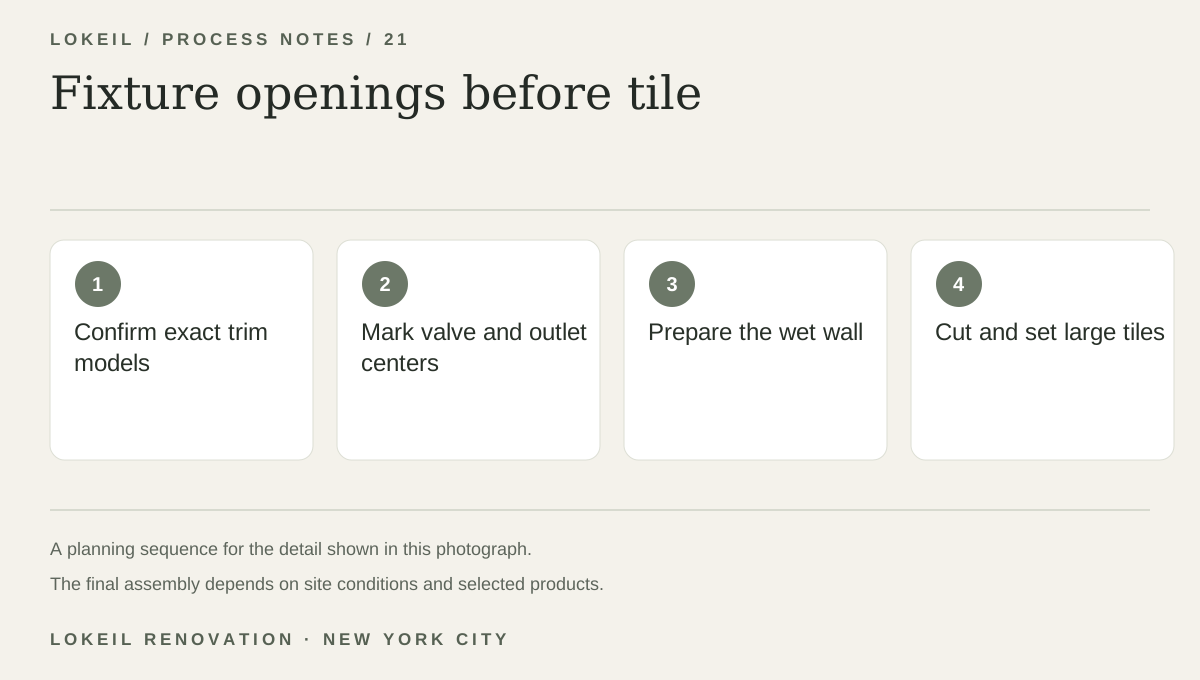
Fixture openings before tile
- 1Confirm exact trim models
- 2Mark valve and outlet centers
- 3Prepare the wet wall
- 4Cut and set large tiles
Set tile over a complete assembly
The wall tile has to be laid around the valve and shower outlet with clean cuts that the chosen trim can cover properly. Behind the tile, the shower assembly needs compatible backing and waterproofing. The visible image does not verify those hidden details.